TEACHER’S PAGE
So I’ll tell you how the magic happens and I encourage you to share it with your students – you never know who may be inspired!
THE PREP
You start by writing the story itself. For the Robots of Mars e-books, I set the story on the planet Mars far in the future, 500 years after a war with Earth.
I came up with personalities for each of the robot characters, and I figured out how I wanted the story to go. I knew I wanted it to have a sort of Pinocchio quality – our hero, Sparky, is created at the beginning of the first book in a lab and has to learn to navigate his new world. Starting from there, I decided Sparky should spend the first book trying to accomplish the task his creator, Mad Doctor, had made him for.
Once I’d gotten to know my characters a little better, the rest of the story began to take shape. I spent some time with it until I knew the beginning, middle and end.
ILLUSTRATION
Next, it’s time to start crafting the illustrations.
When I knew how I wanted the whole story to go, I sat down with a group of ten artists and we got to work figuring out what each character would look like and how we would represent the planet Mars. Once we had the characters finalized, we went to work on the sets – those are the places the characters would move through in the story – and any other objects they might use, called props.
Recognize those words, sets and props? I told you this was like making a movie!
We had lots of fun creating the robot world for our robot characters to live in. For each item in the book, we needed to make a model pack, which is a set of views of the item from different angles. Later, the digital artists would use those model packs to create each character and object in the story.
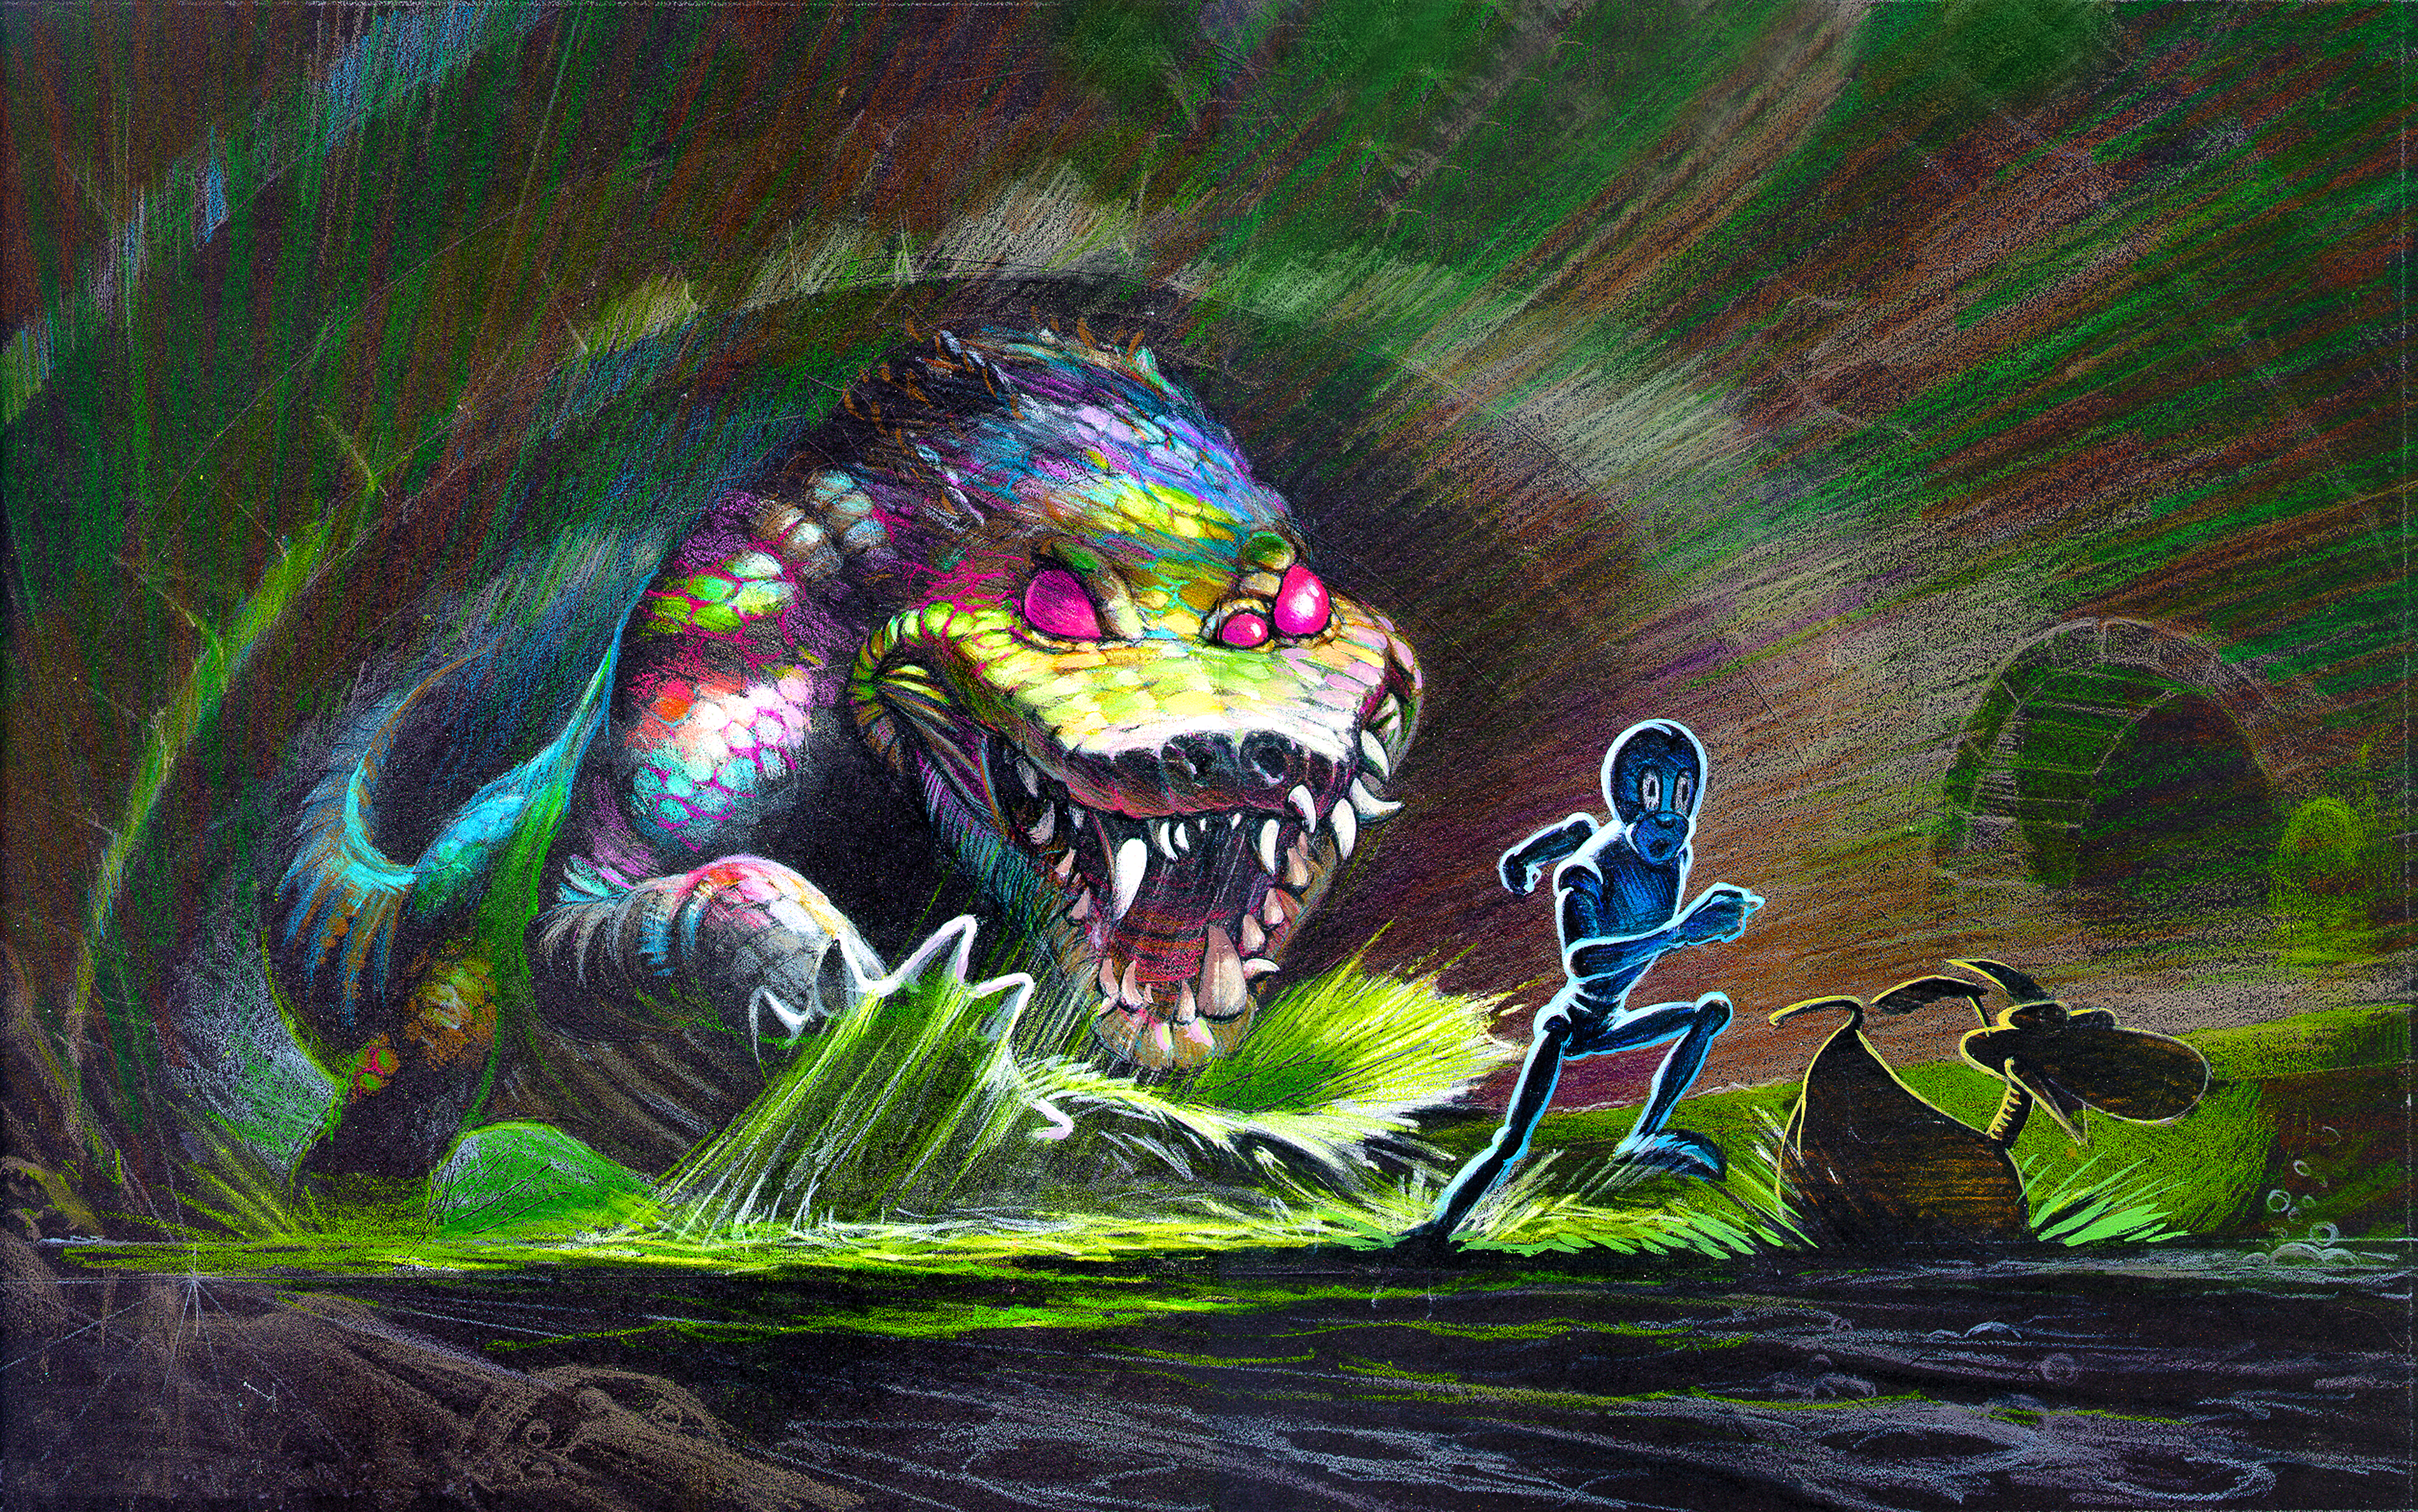
Making a digital illustration like this is a different process from creating a classical illustration – that’s a picture that’s been painted or drawn. For a classical illustration, the artist usually works with the author to come up with the idea for the picture and then sketches the scene. Once the author approves the sketch, the artist paints the illustration, either using real paints and brush on canvas or using a computer or tablet.
These classical illustrations are usually two-dimensional, so the only view of the scene in the picture is the one the artist has painted. They’re like photographs.
Creating digital illustrations with their photo-realistic quality is totally different. The digital illustrator – that’s me! – is more like a movie director. They have to work with a whole crew of artists to bring their vision to life. The digital illustrator needs to have experience in movie-making techniques, classic artistic techniques and digital computer graphics. They have to know their way around a bunch of computer programs, and they have to understand what makes a good picture. They also have to be able to bring together a crew of artists, both classic and digital, and direct them.
MAKING THE “MOVIE”
Let’s look at all the different jobs the illustrator of a digital e-book has as though this were a movie. In my case, I wasn’t just the director. I was in a lot of different roles:
- The screenwriter, since I also wrote the story;
- The producer, who assembles the crew and actors for the production;
- The actors themselves, because I posed the characters and added expressions to their faces to fit the plot;
- The cameraman, who sets up the virtual camera that will frame the illustration;
- The cinematographer, who lights the scene;
- The set designer and prop person, who choose everything that will appear in the illustrations;
- And the editor, because after all of the illustrations are done, I had to change anything in the story that wasn’t working, rewrite the words and put all the images into the proper order.
In a classical illustration, there’s only one viewpoint – like in a photograph, where the camera is pointed in just one direction and you can only see one side of whatever’s in the picture. A digital scene is different. It’s like a whole movie set, just created digitally instead of in real life.
Once a digital scene is created, the illustrator can move around in this virtual 3D space with a virtual camera and frame the illustration from lots of different angles. They can pose the digital characters in different positions and expressions. This gives the illustrator so many choices! Sometimes it can be too many choices, so like in the movie-making process, I sometimes create storyboards. These are rows of two-dimensional pictures that lay out the action for a sequence of events. They can help me get clear on how I want a moment in the story to look.
BUILDING THE SCENES
Now we’ve got the big picture, let’s look at how an actual digital illustration is created.
First, I worked with the artists to create sketches and paintings of the different characters and environments for the story.
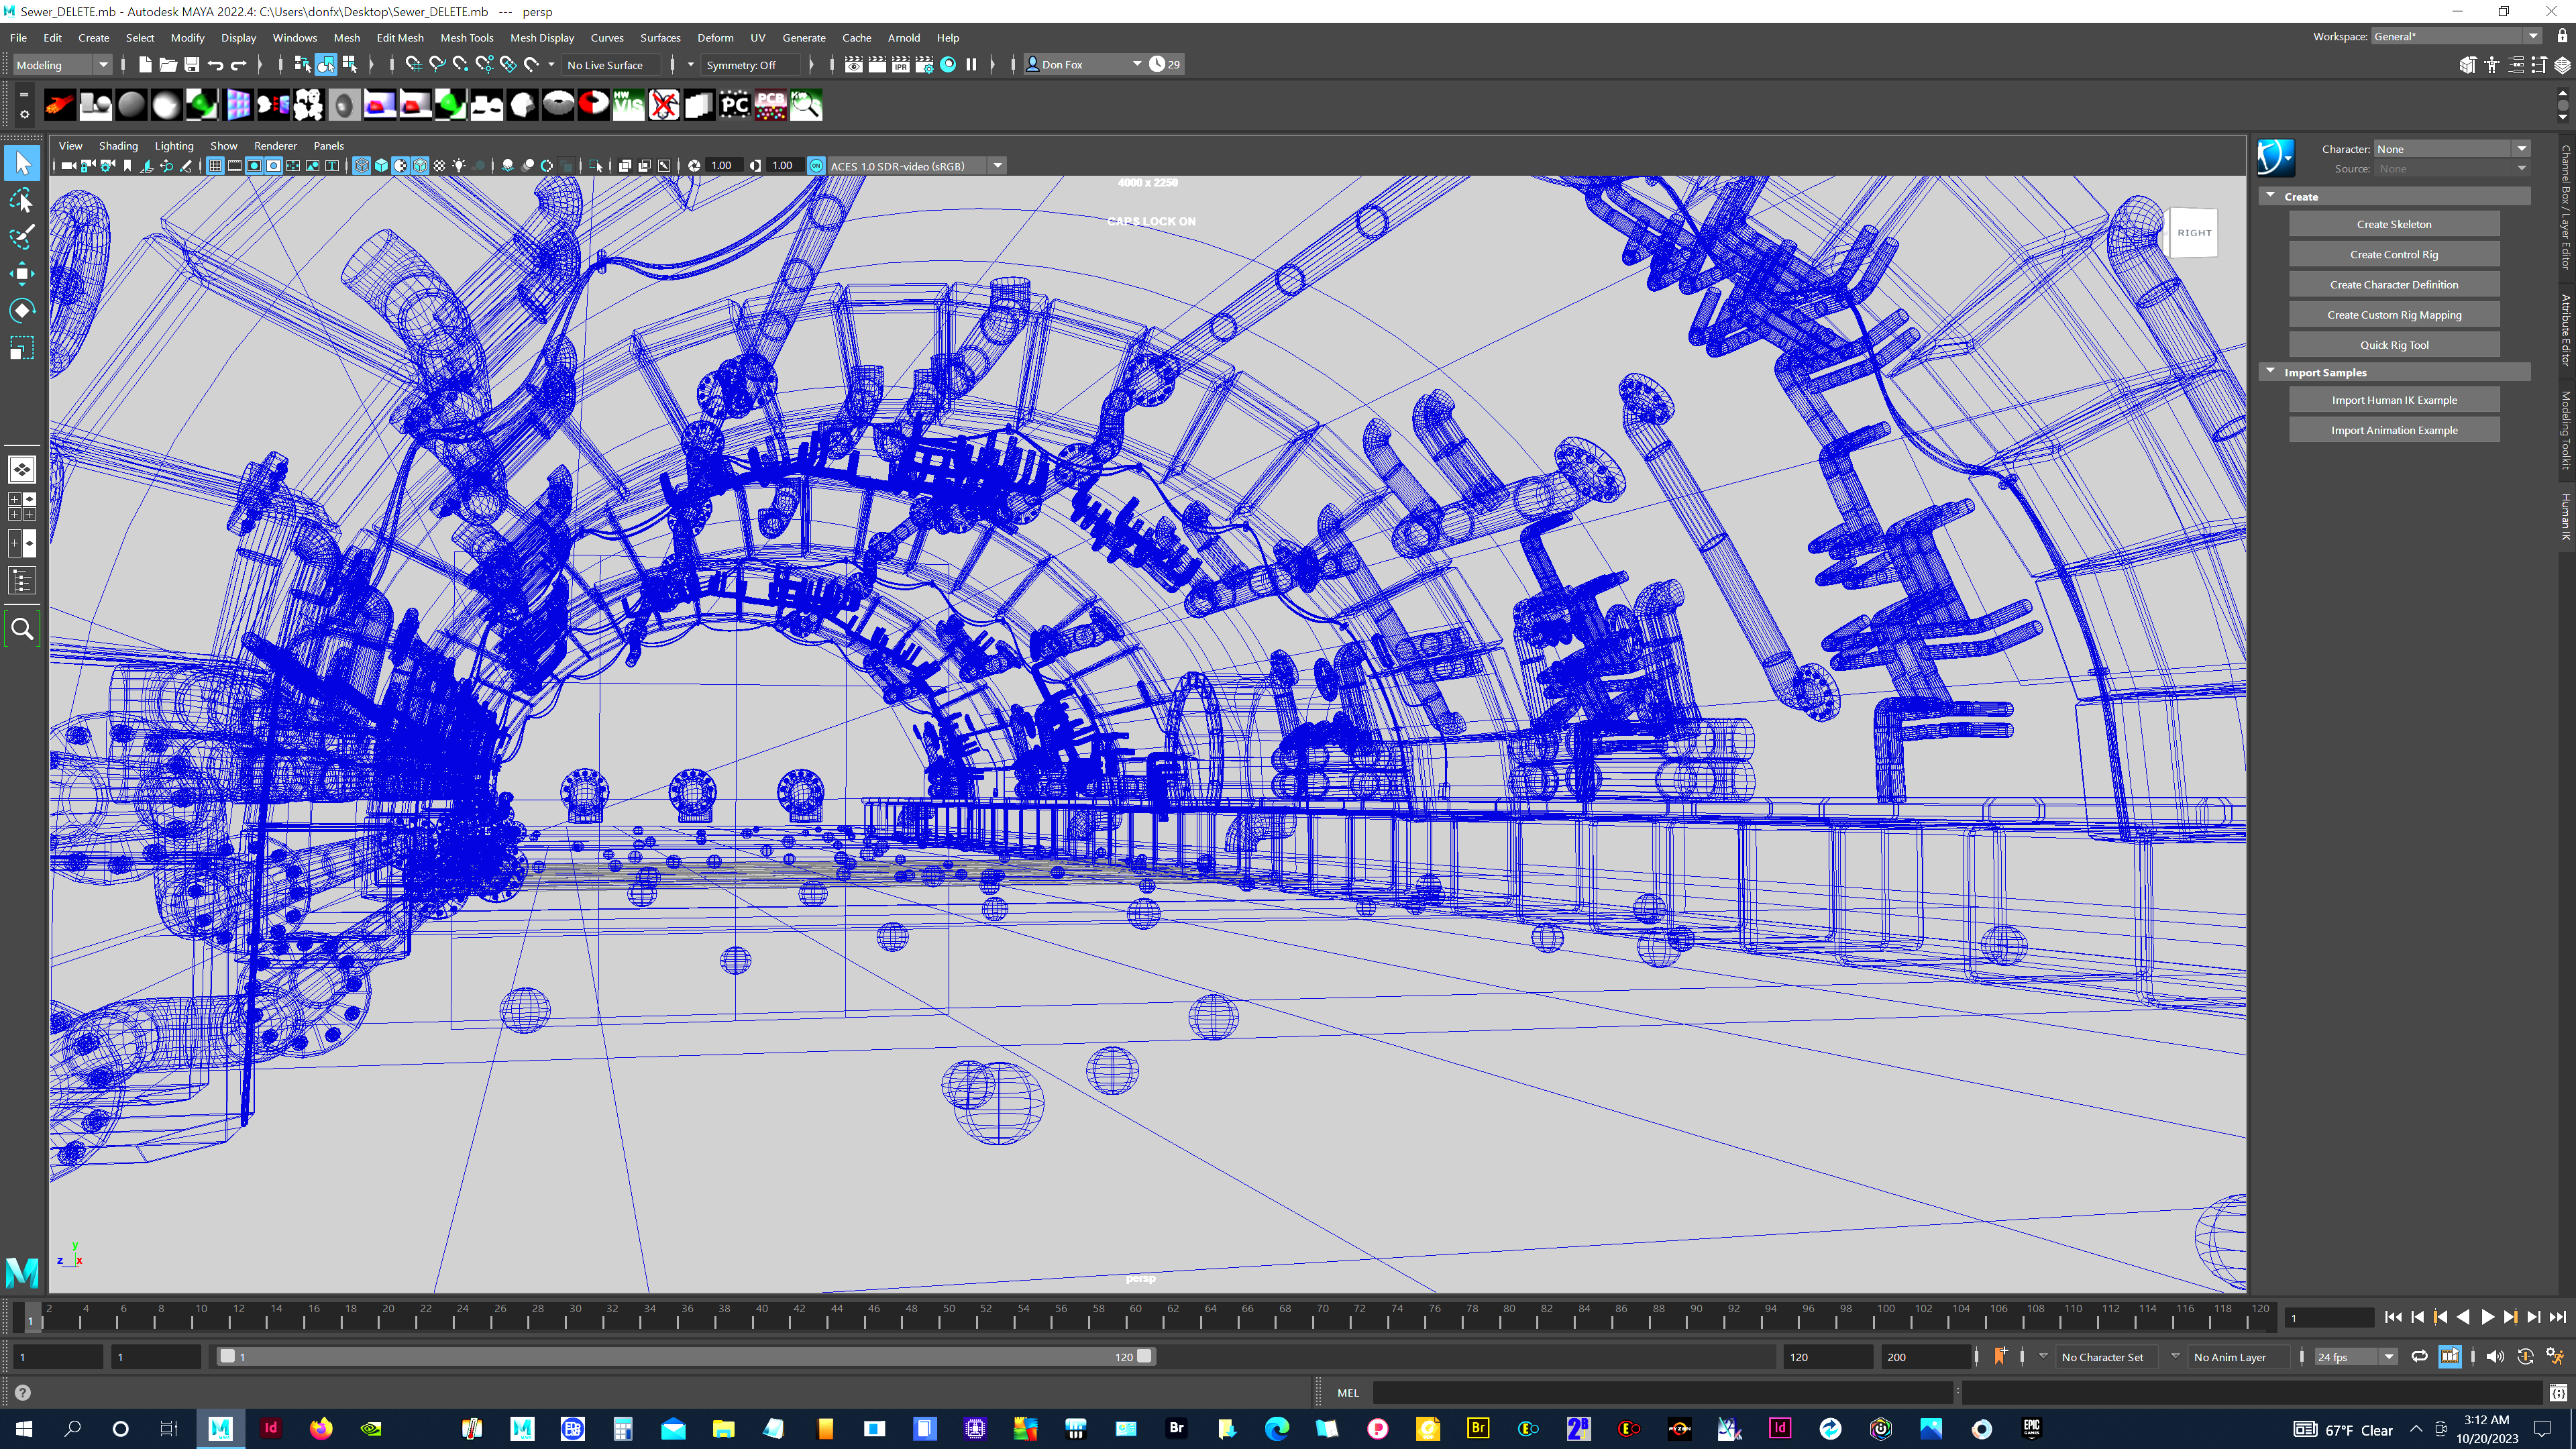
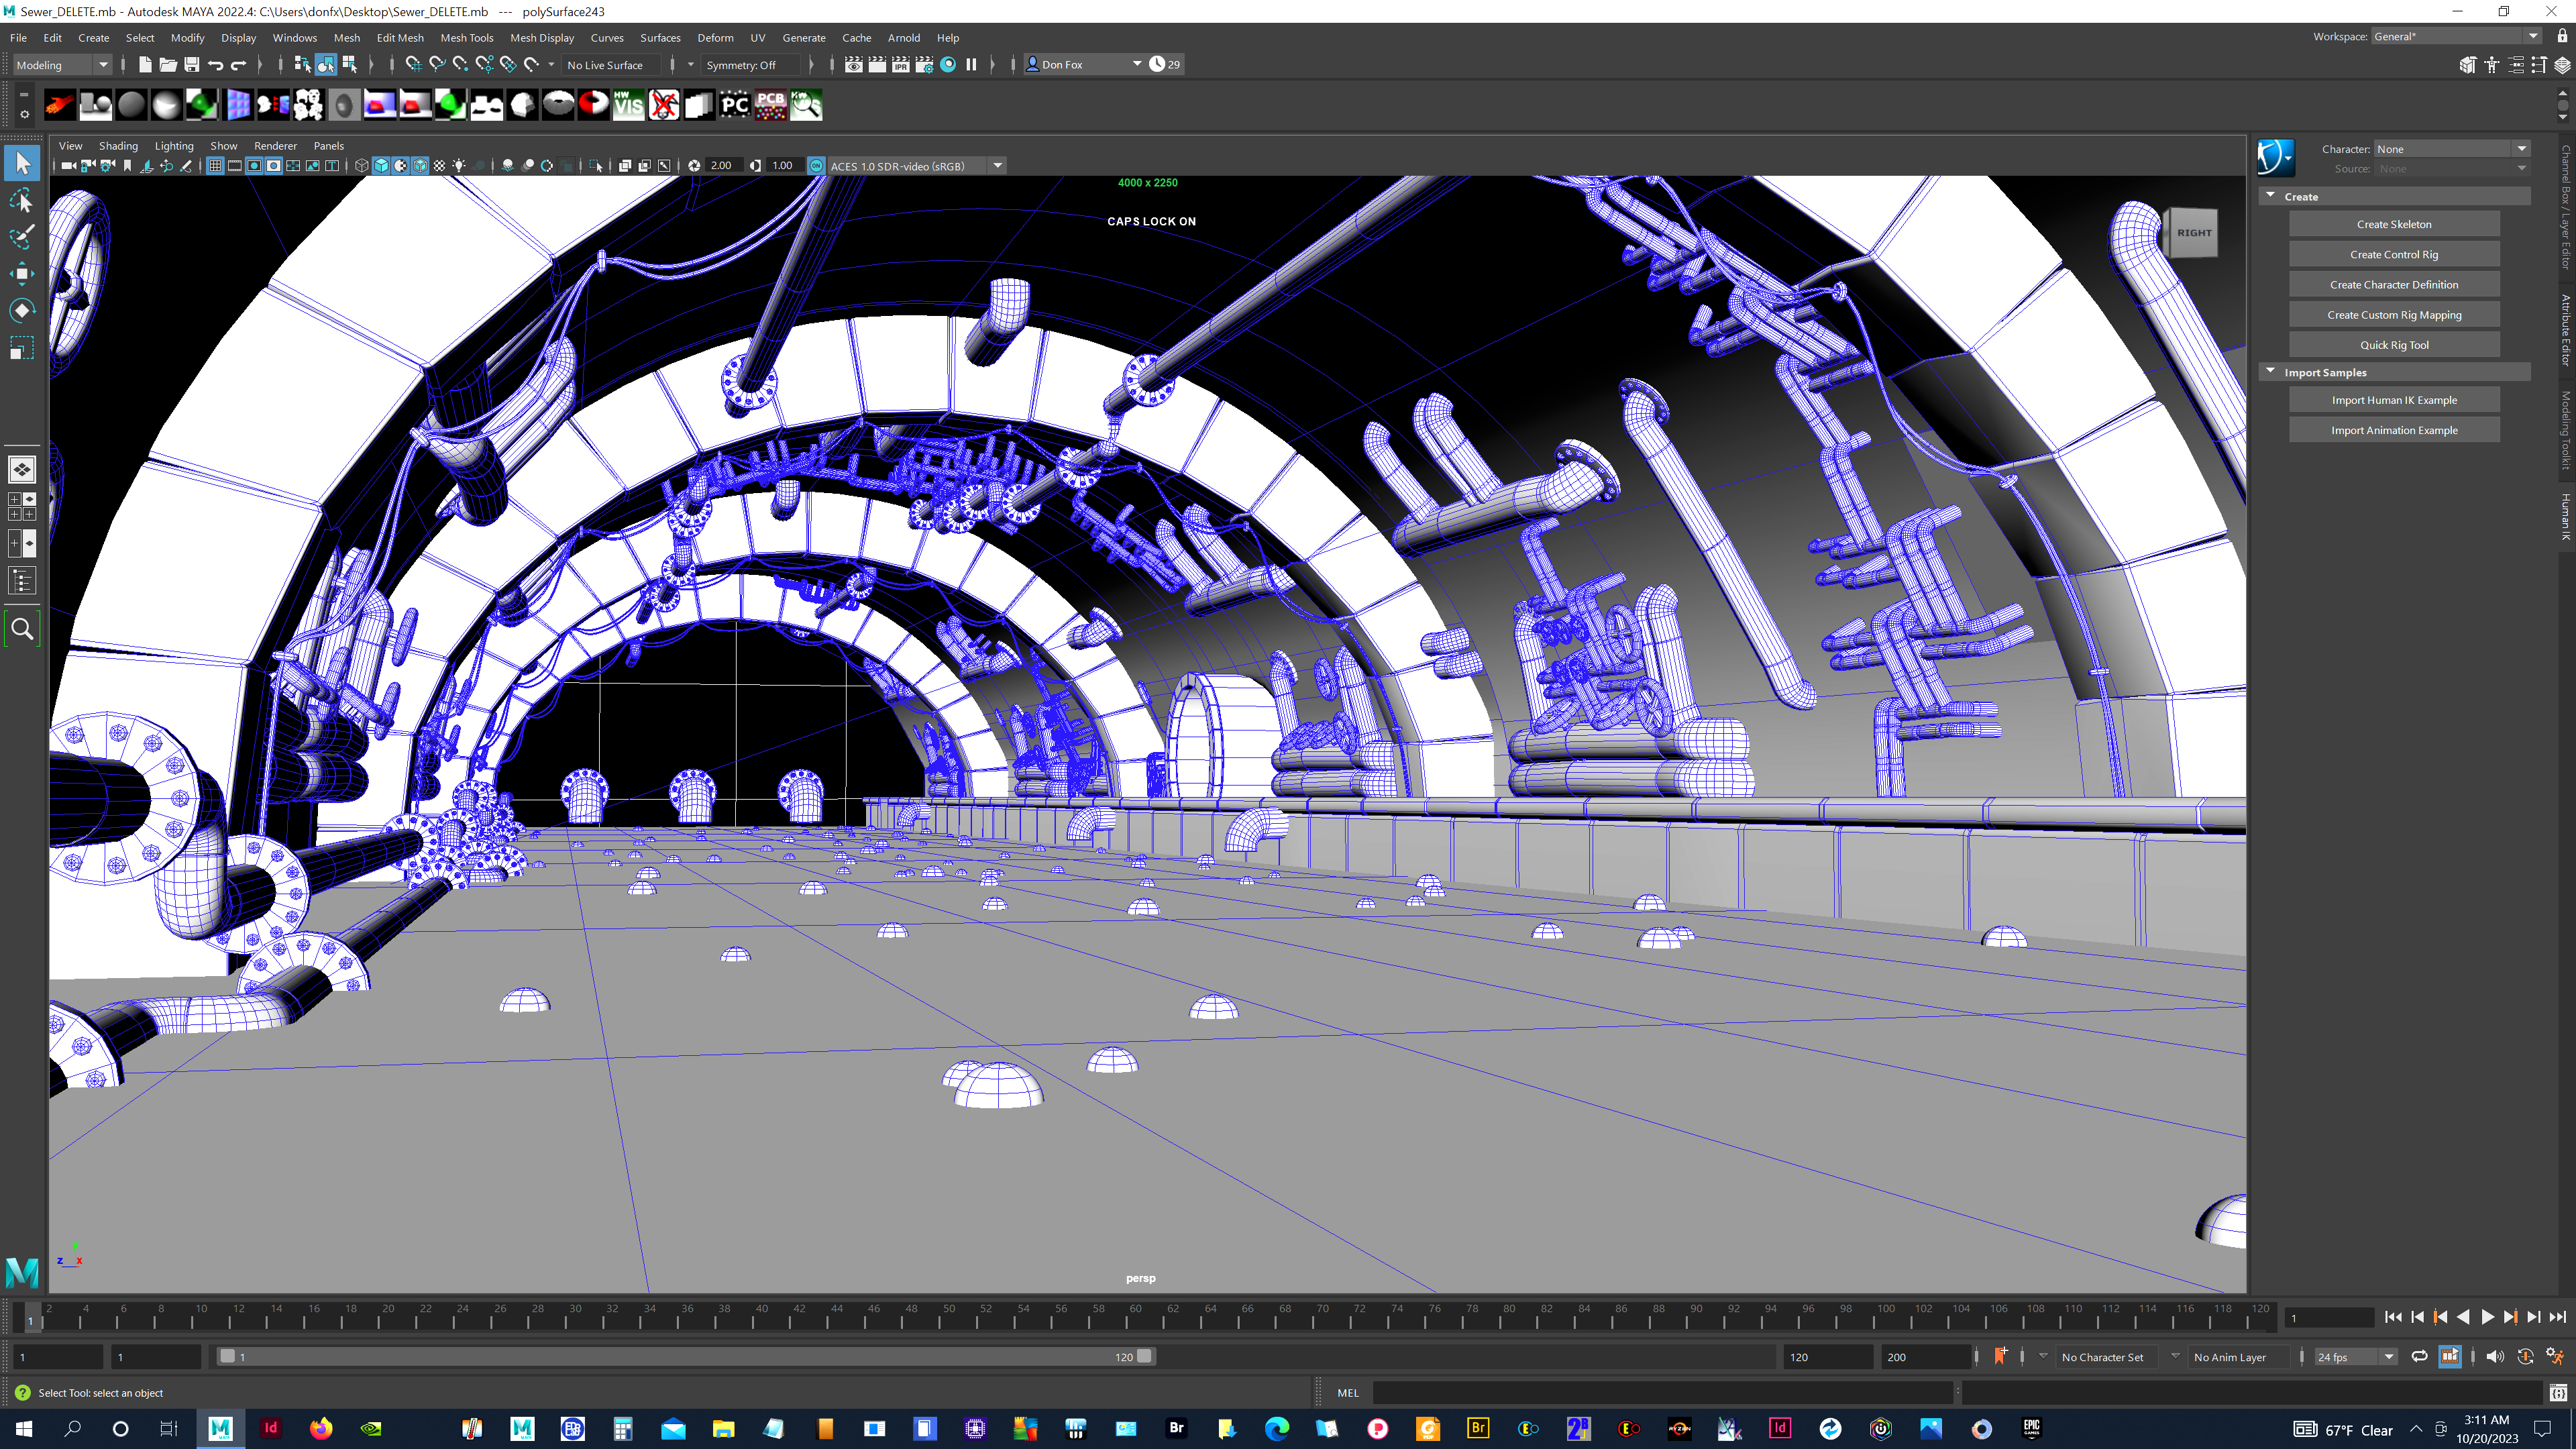
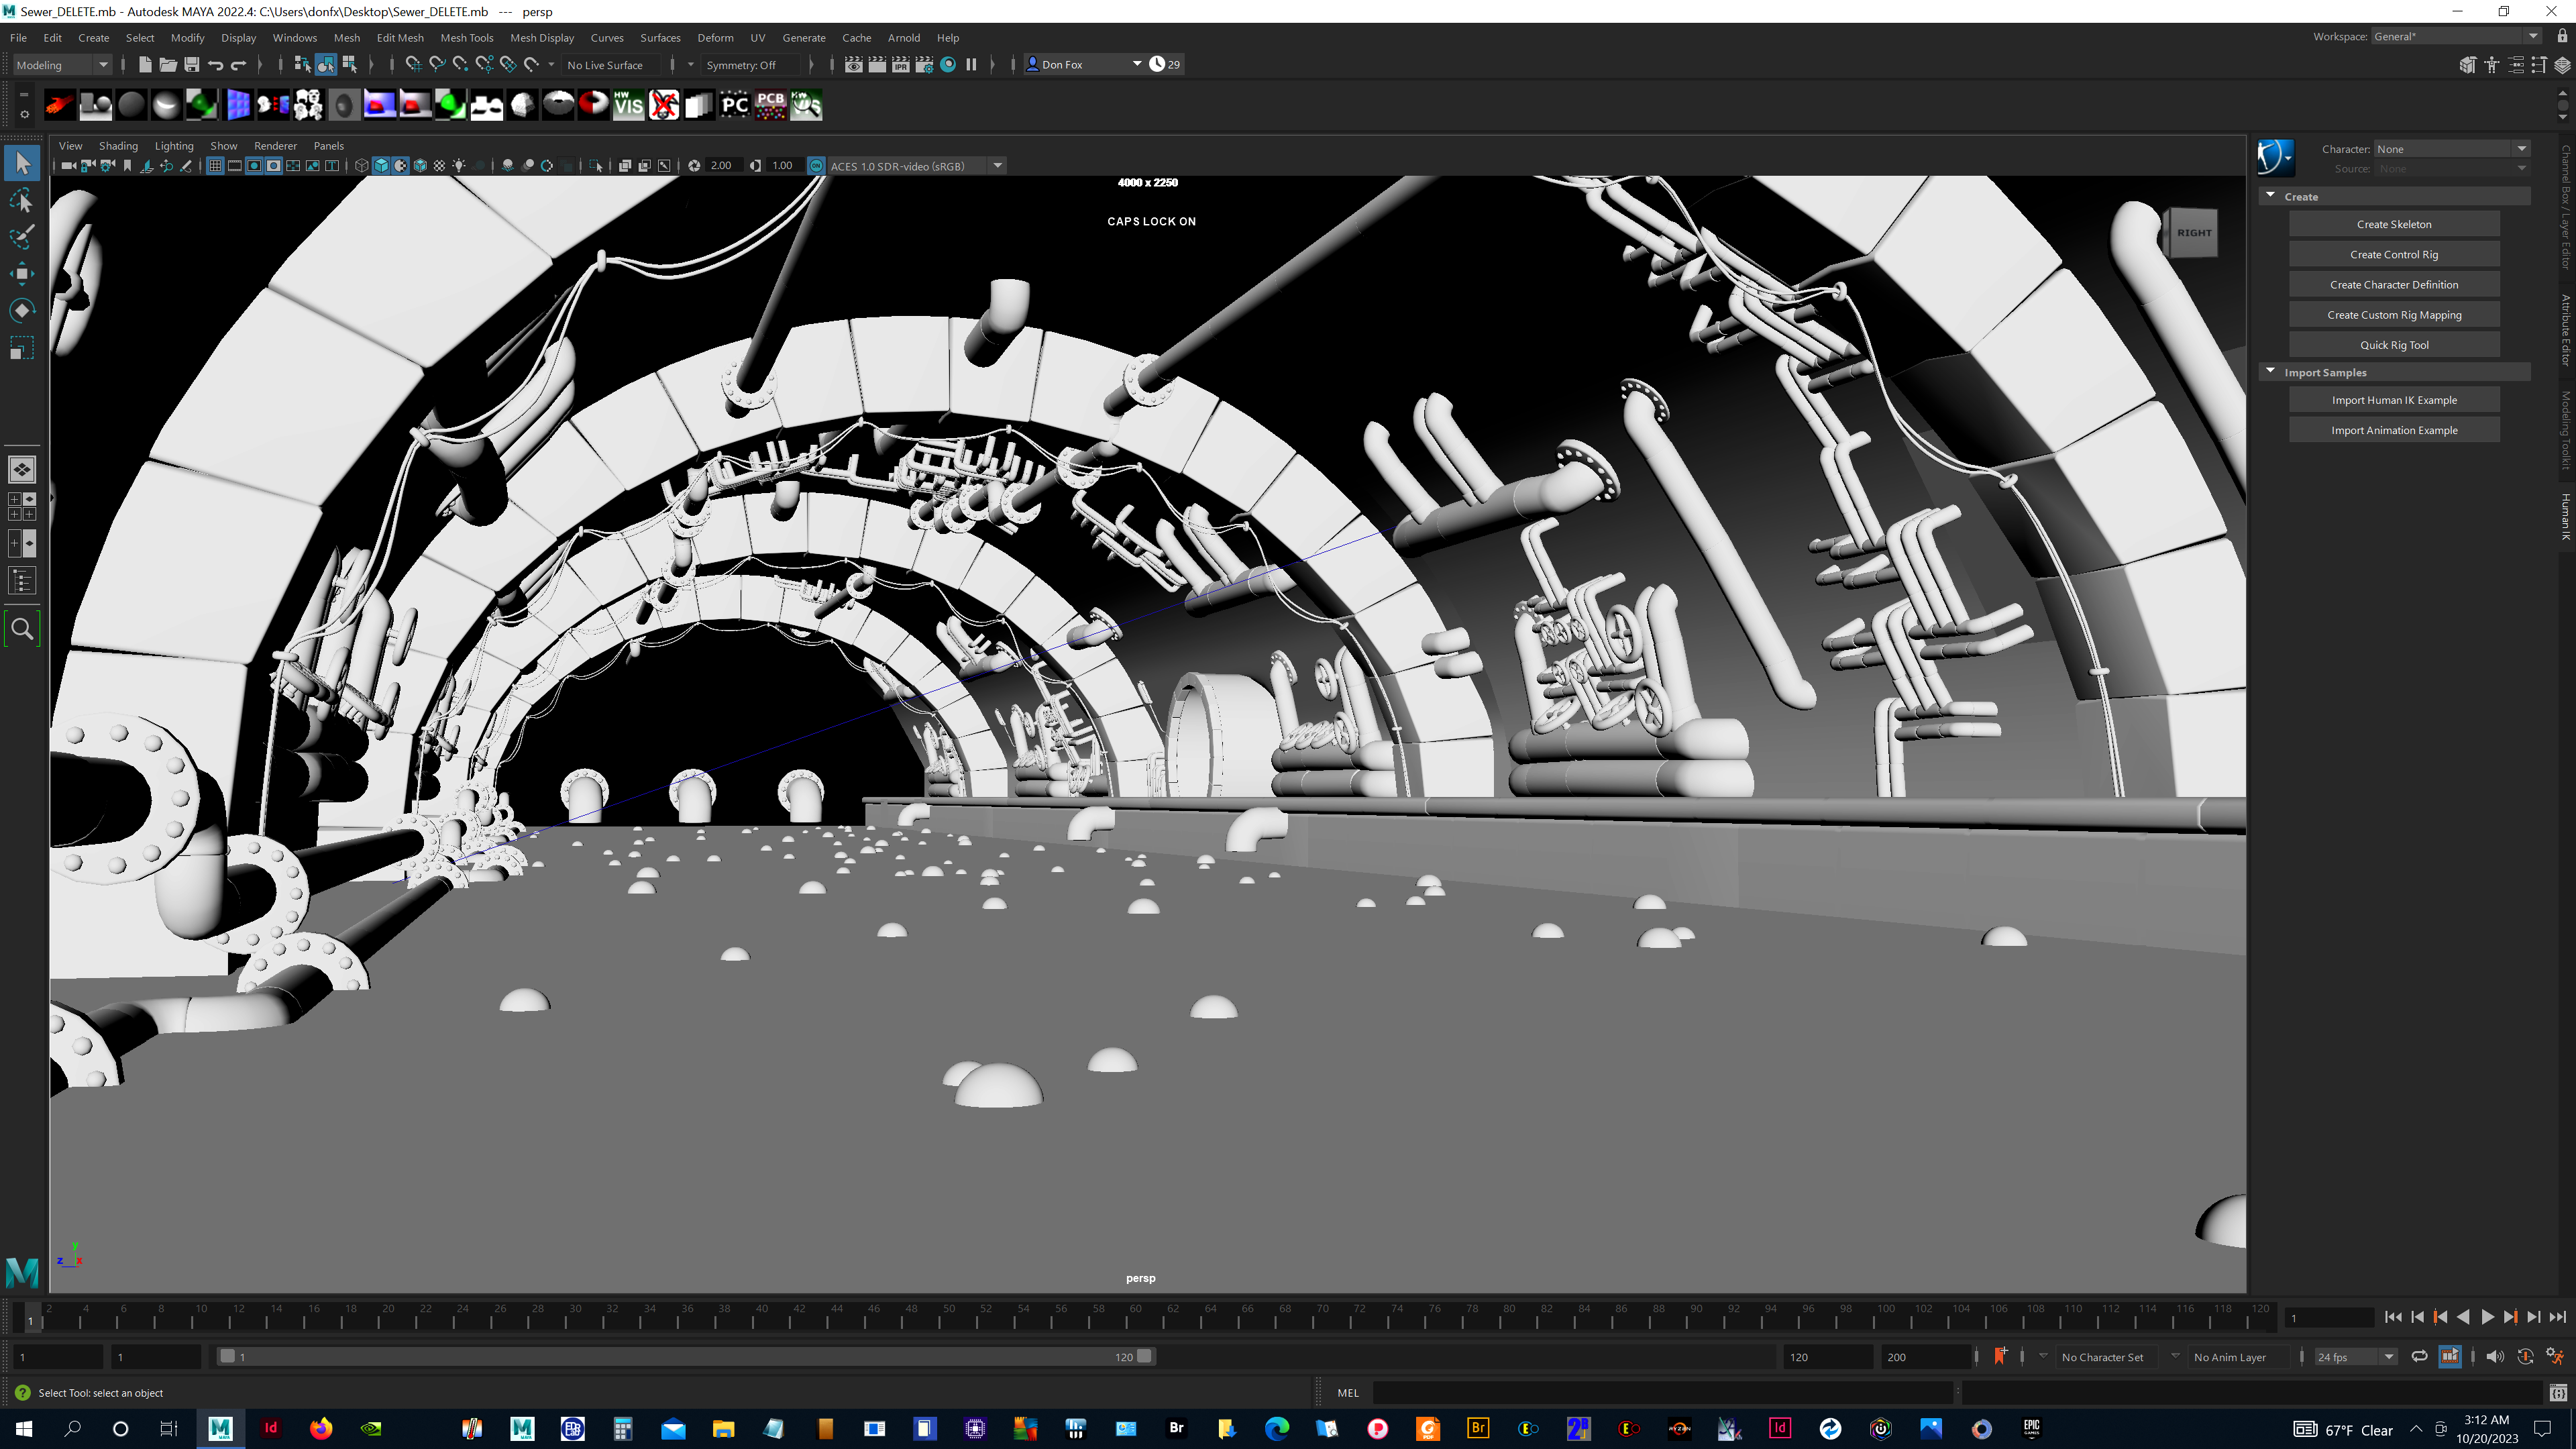
After the artwork and model packs for the different characters, props and sets were done, I worked with digital artists who turned the sketches and model packs into 3D models made of geometric meshes, all created on a computer. (Not sure what I mean by geometric meshes? Have a look at the pictures coming up later!)
Making 3D models usually involves a bunch of different digital artists:
- Modelers who make the three-dimensional meshes of the objects from the sketches
- Artists who do the texturing of the 3D objects, giving them colorful surfaces – this is like painting the meshes
- Specialists who help create characters
Sometimes a single digital artist can do all of these things if they are experienced enough.
If the 3D object is a character, like a robot, they have to be rigged. Rigging means adding joints to the character’s moving parts – the shoulders, arms, hands, legs, knees, head and so on. We even rig the characters’ eyes so that they could move left to right, up to down, squint and close. Then we add facial expressions so they can smile, frown, look alert, look afraid, etc. To do this, we modify the geometry of the face to create the expressions. This is called blend shaping.
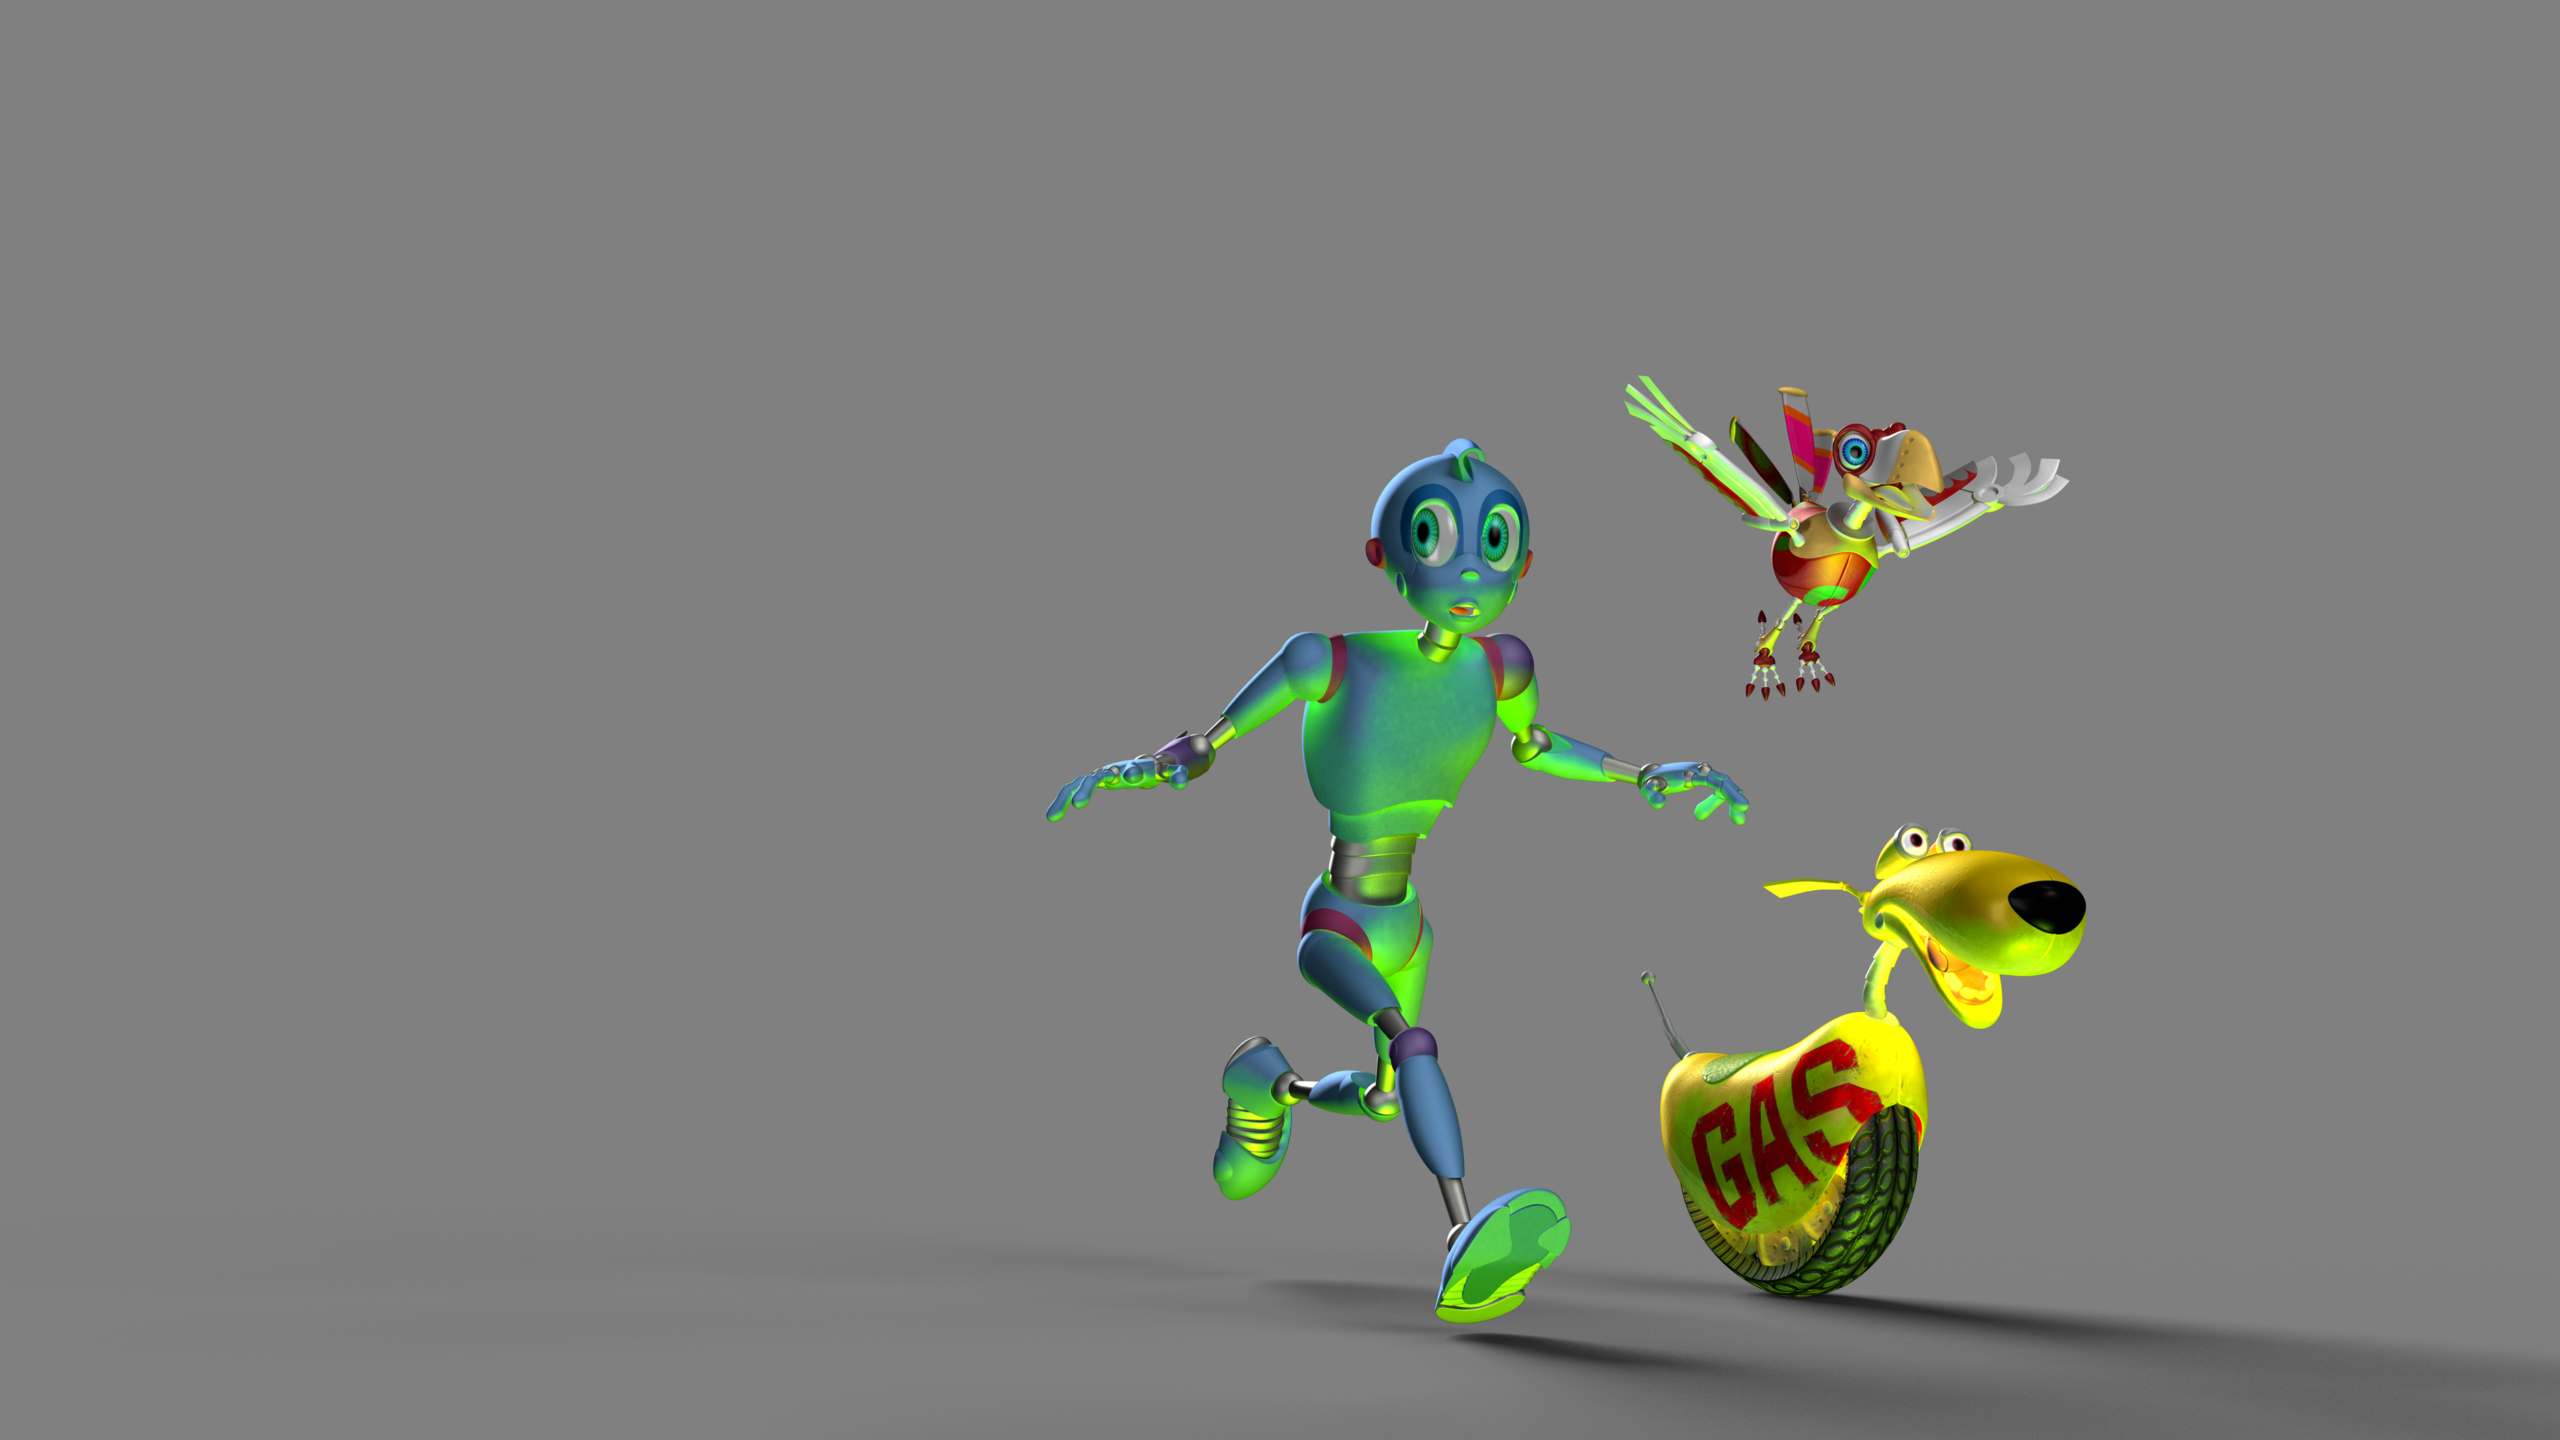
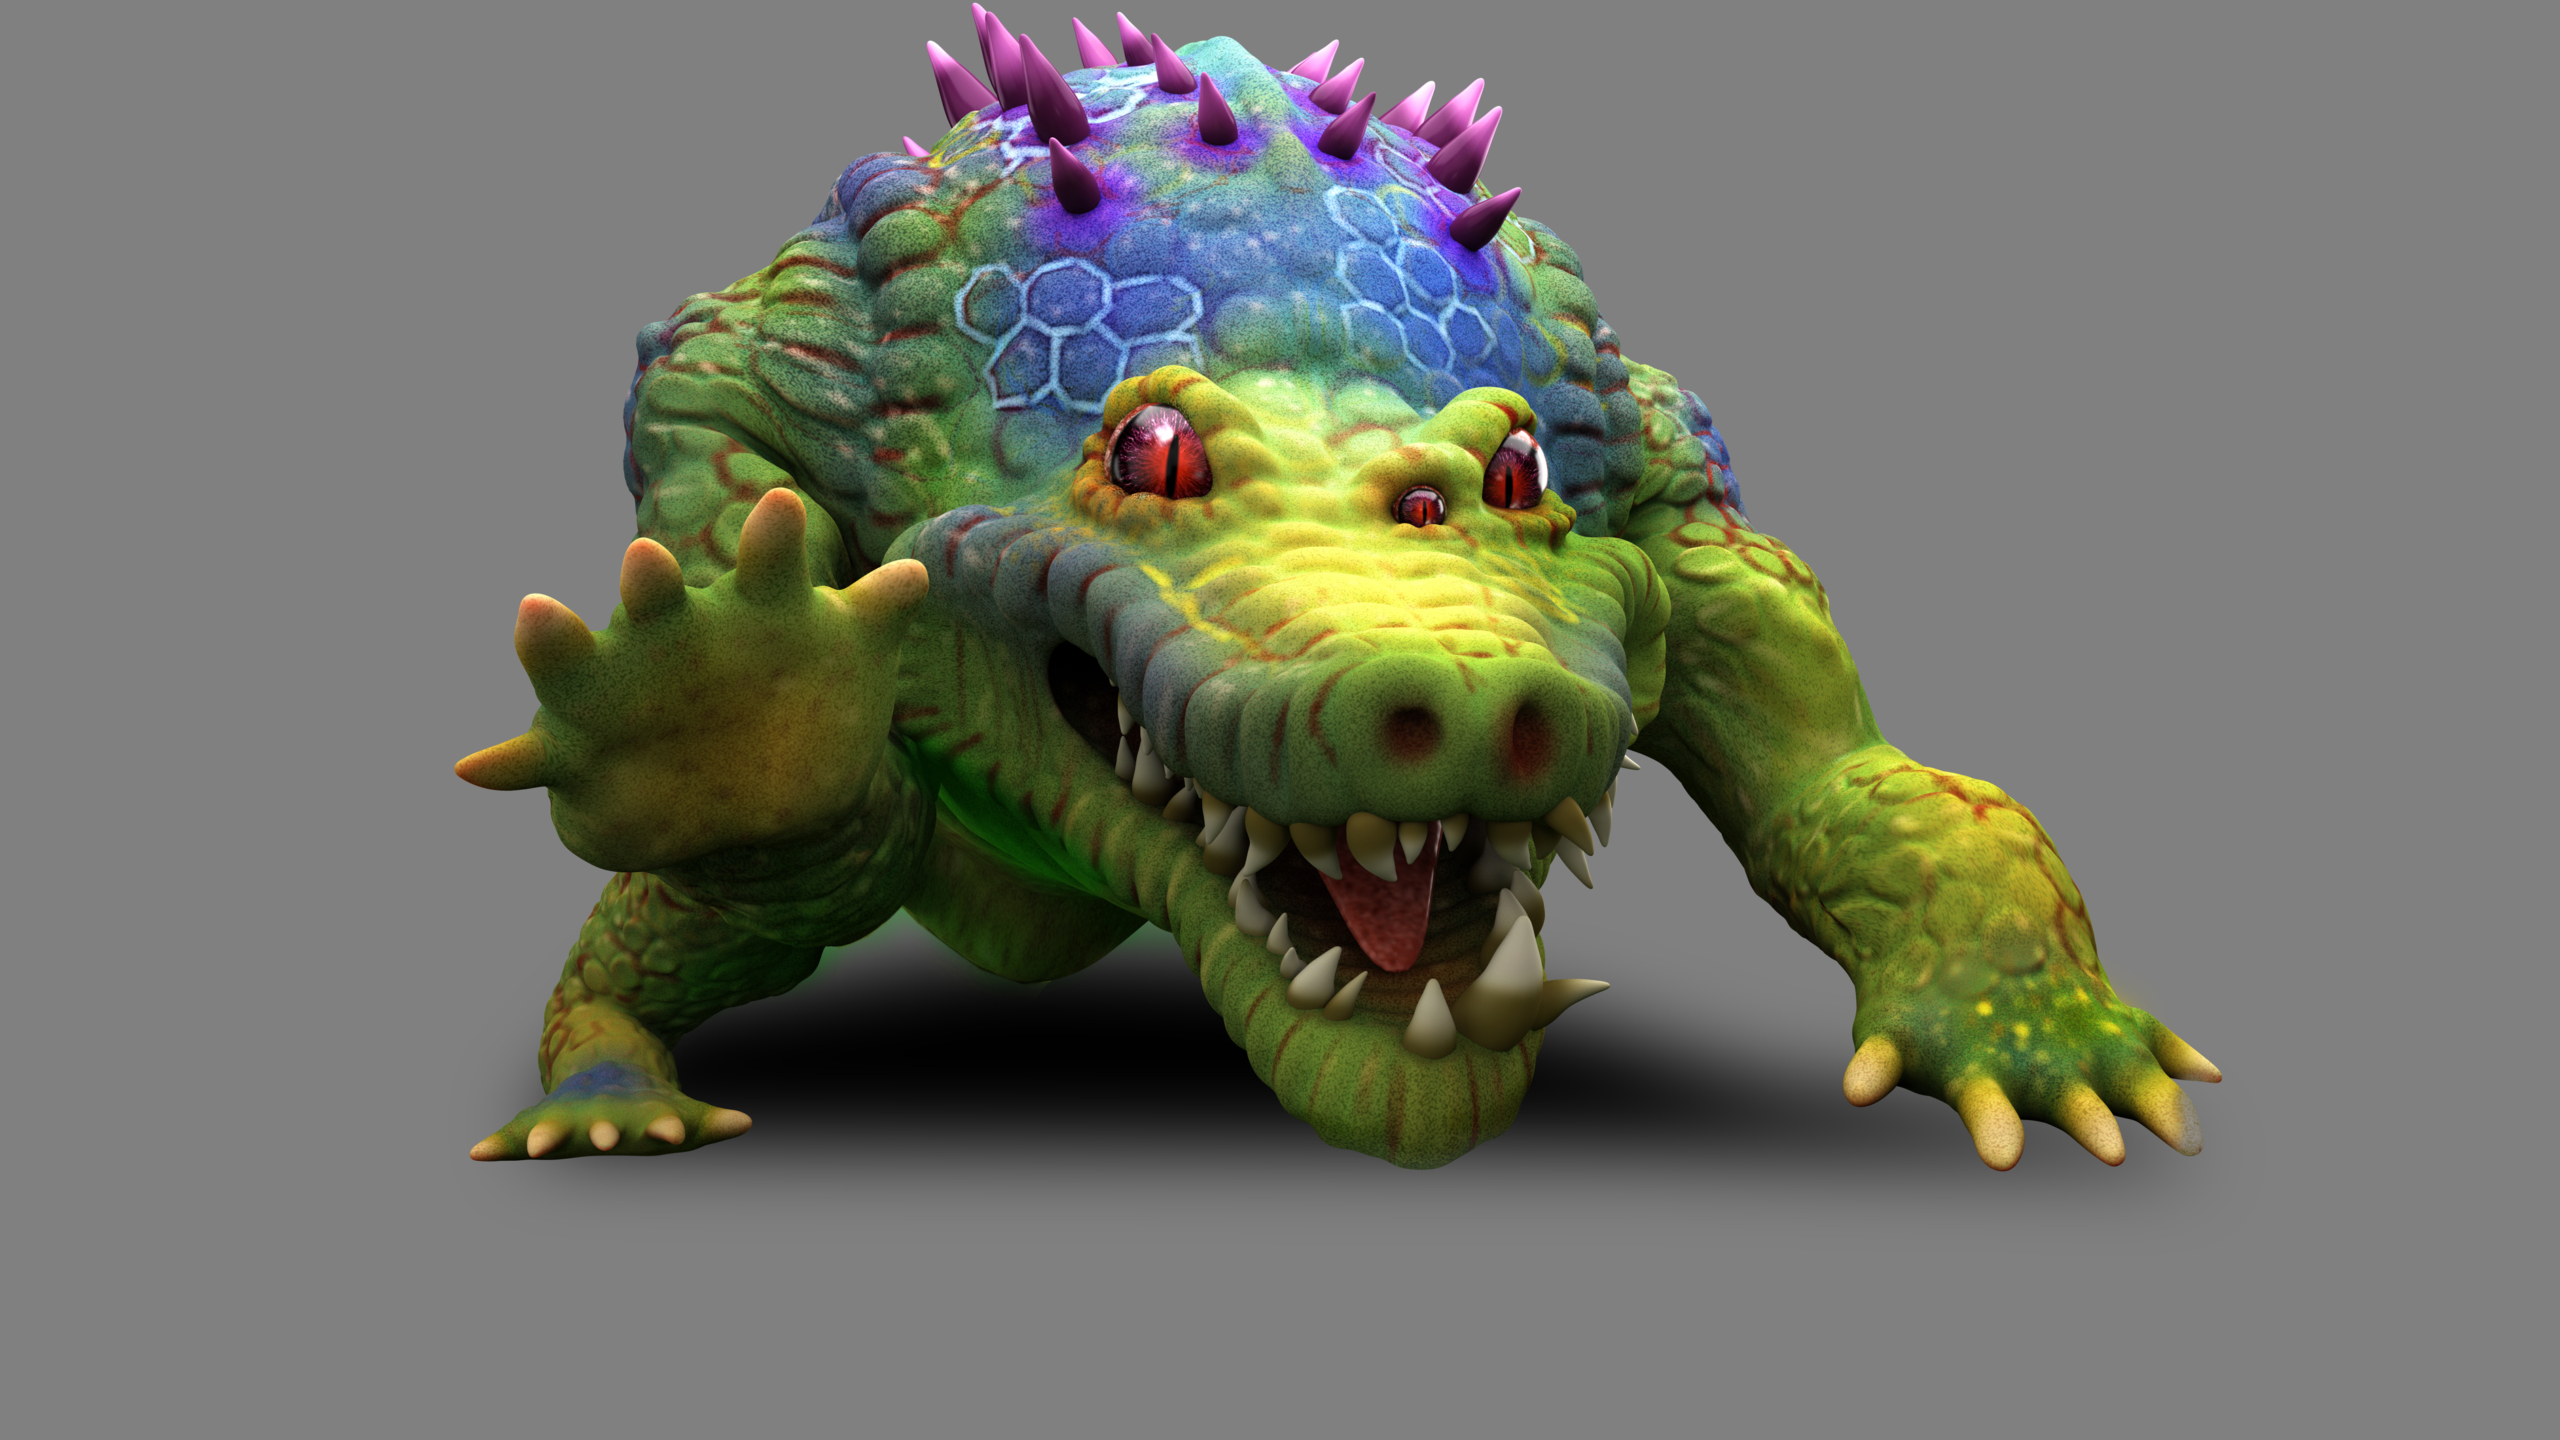
Once the digital characters, props and sets are created, we bring them together into a scene. Here, I was like the cameraman in a movie, positioning the virtual camera to frame the scene the way I wanted it. I also had to be the lighting person, illuminating the scene with virtual lights so that it looks realistic. And finally, I also did the acting, posing the characters and adding their expressions.
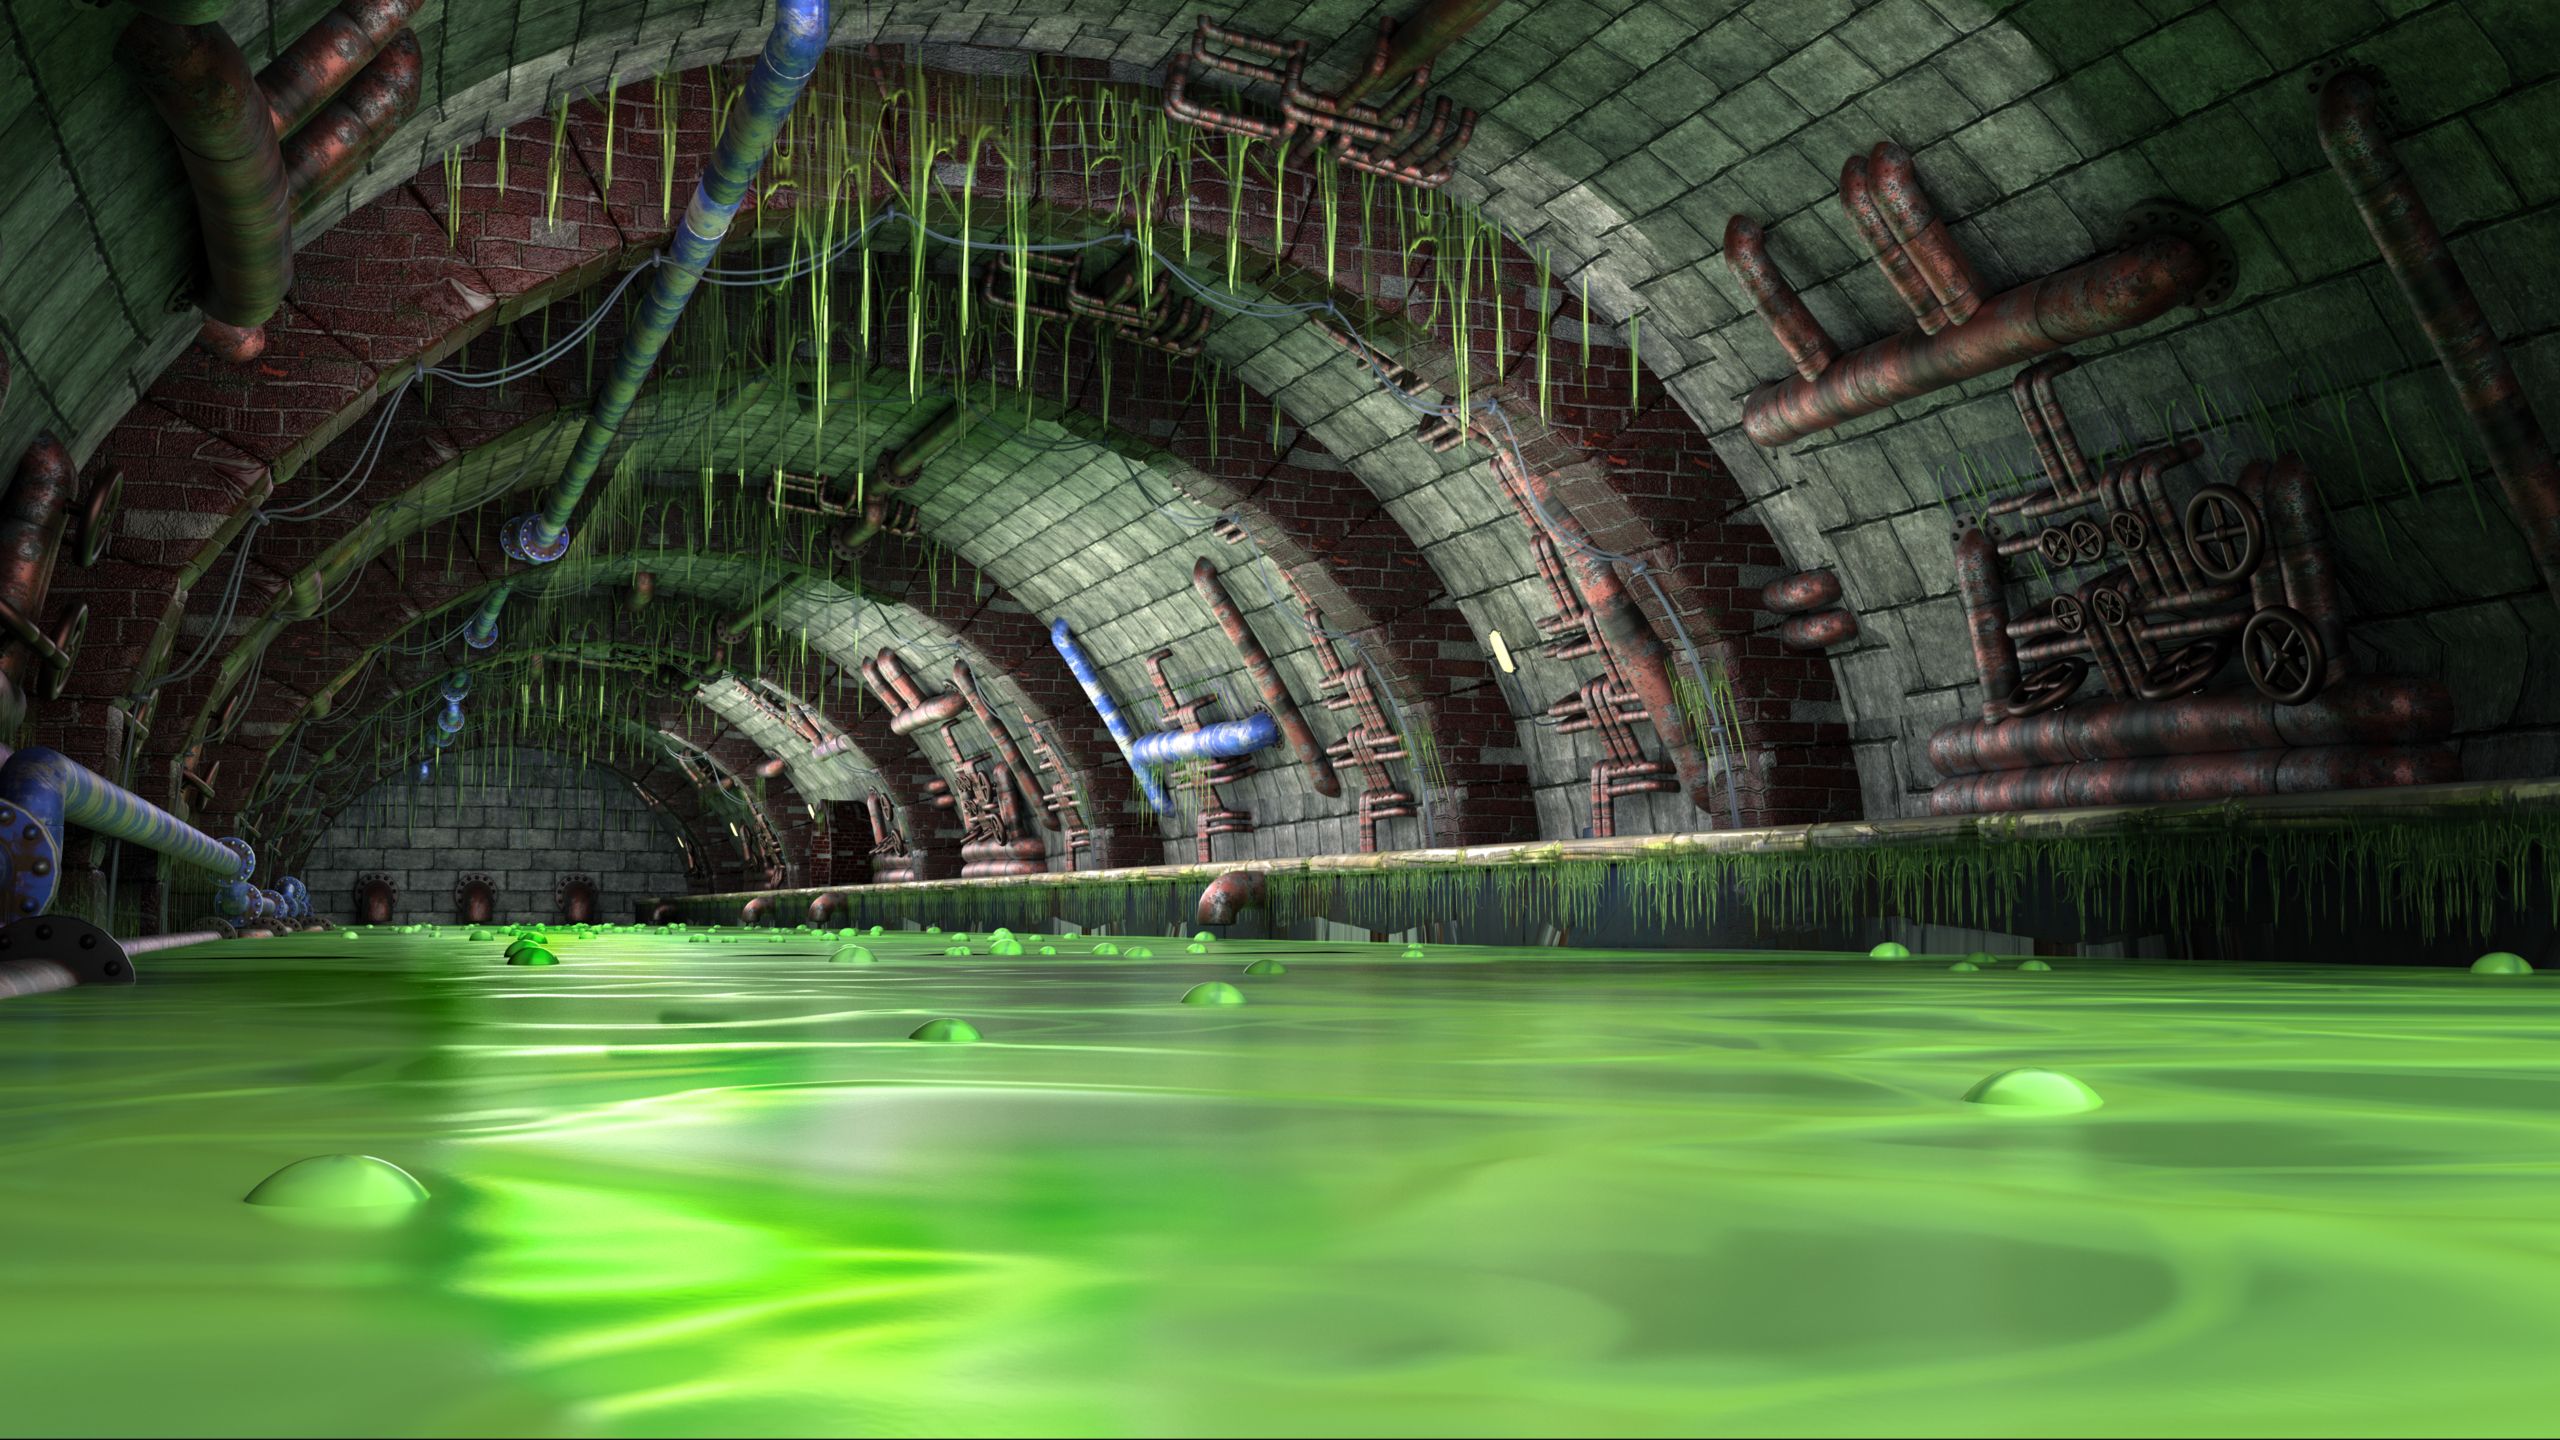
Finally! The artwork is all ready. Now, all of the pieces of the scene have to be turned into a final image. This is called rendering.
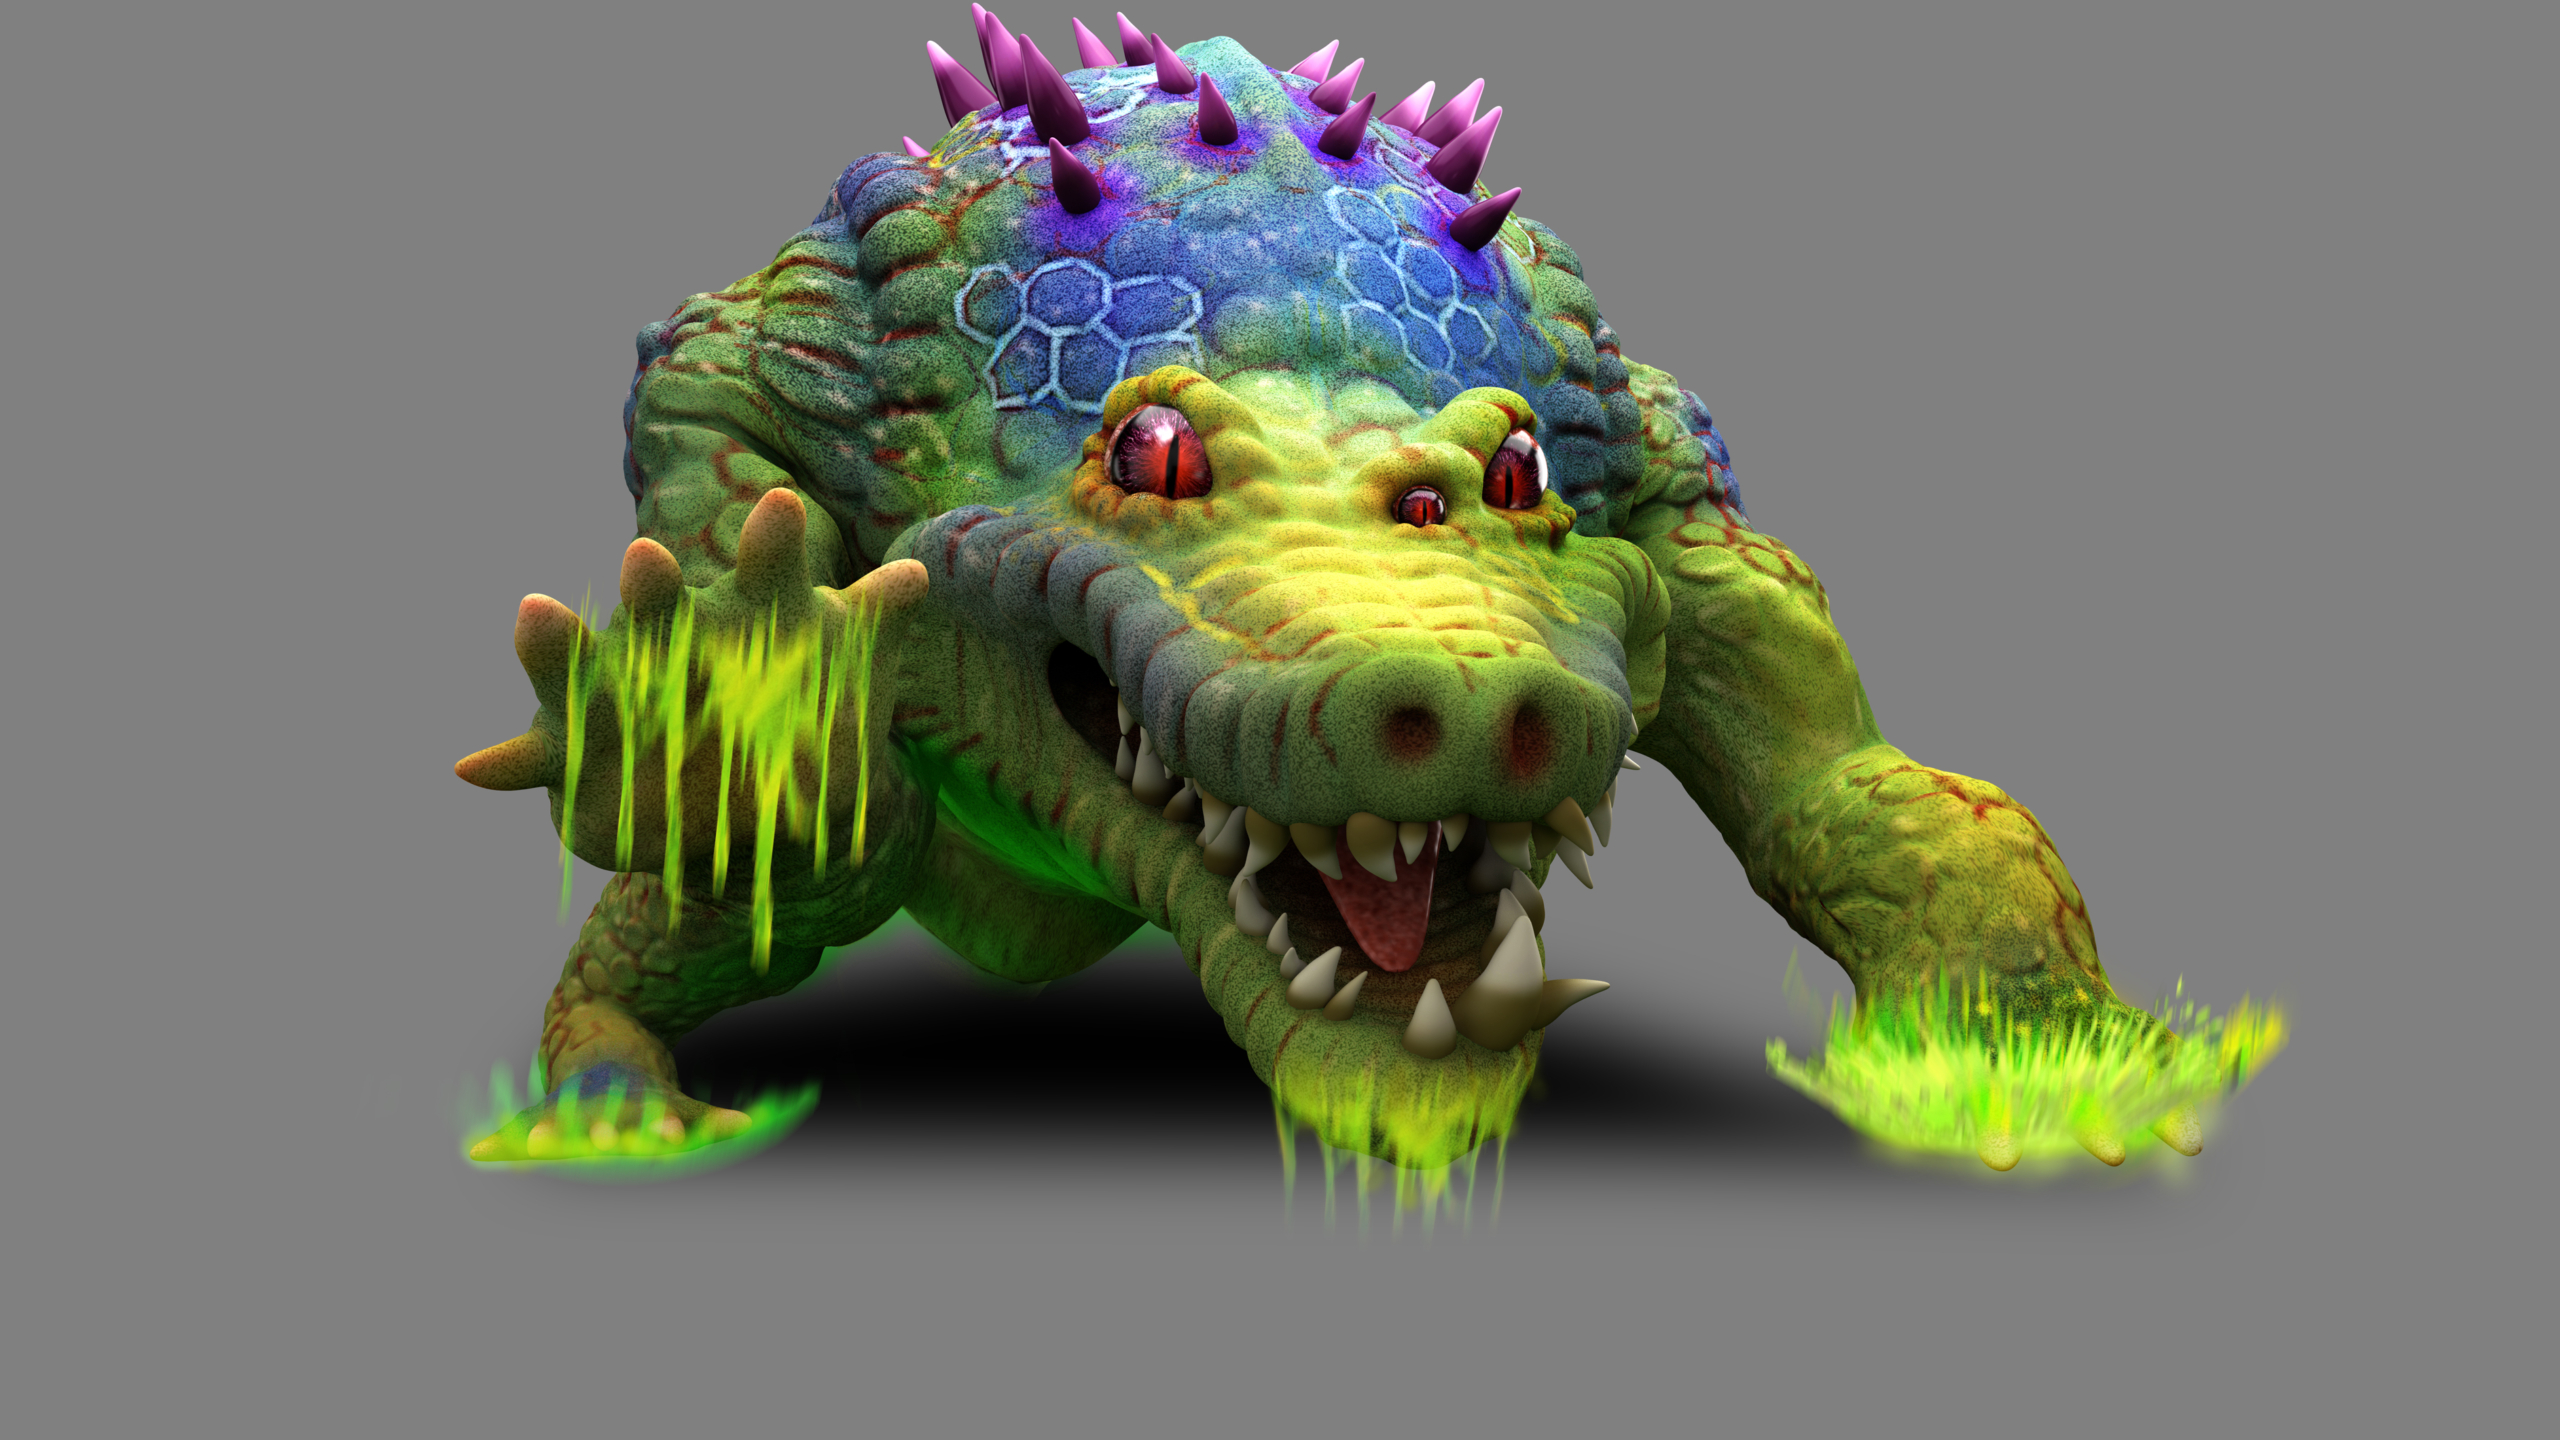
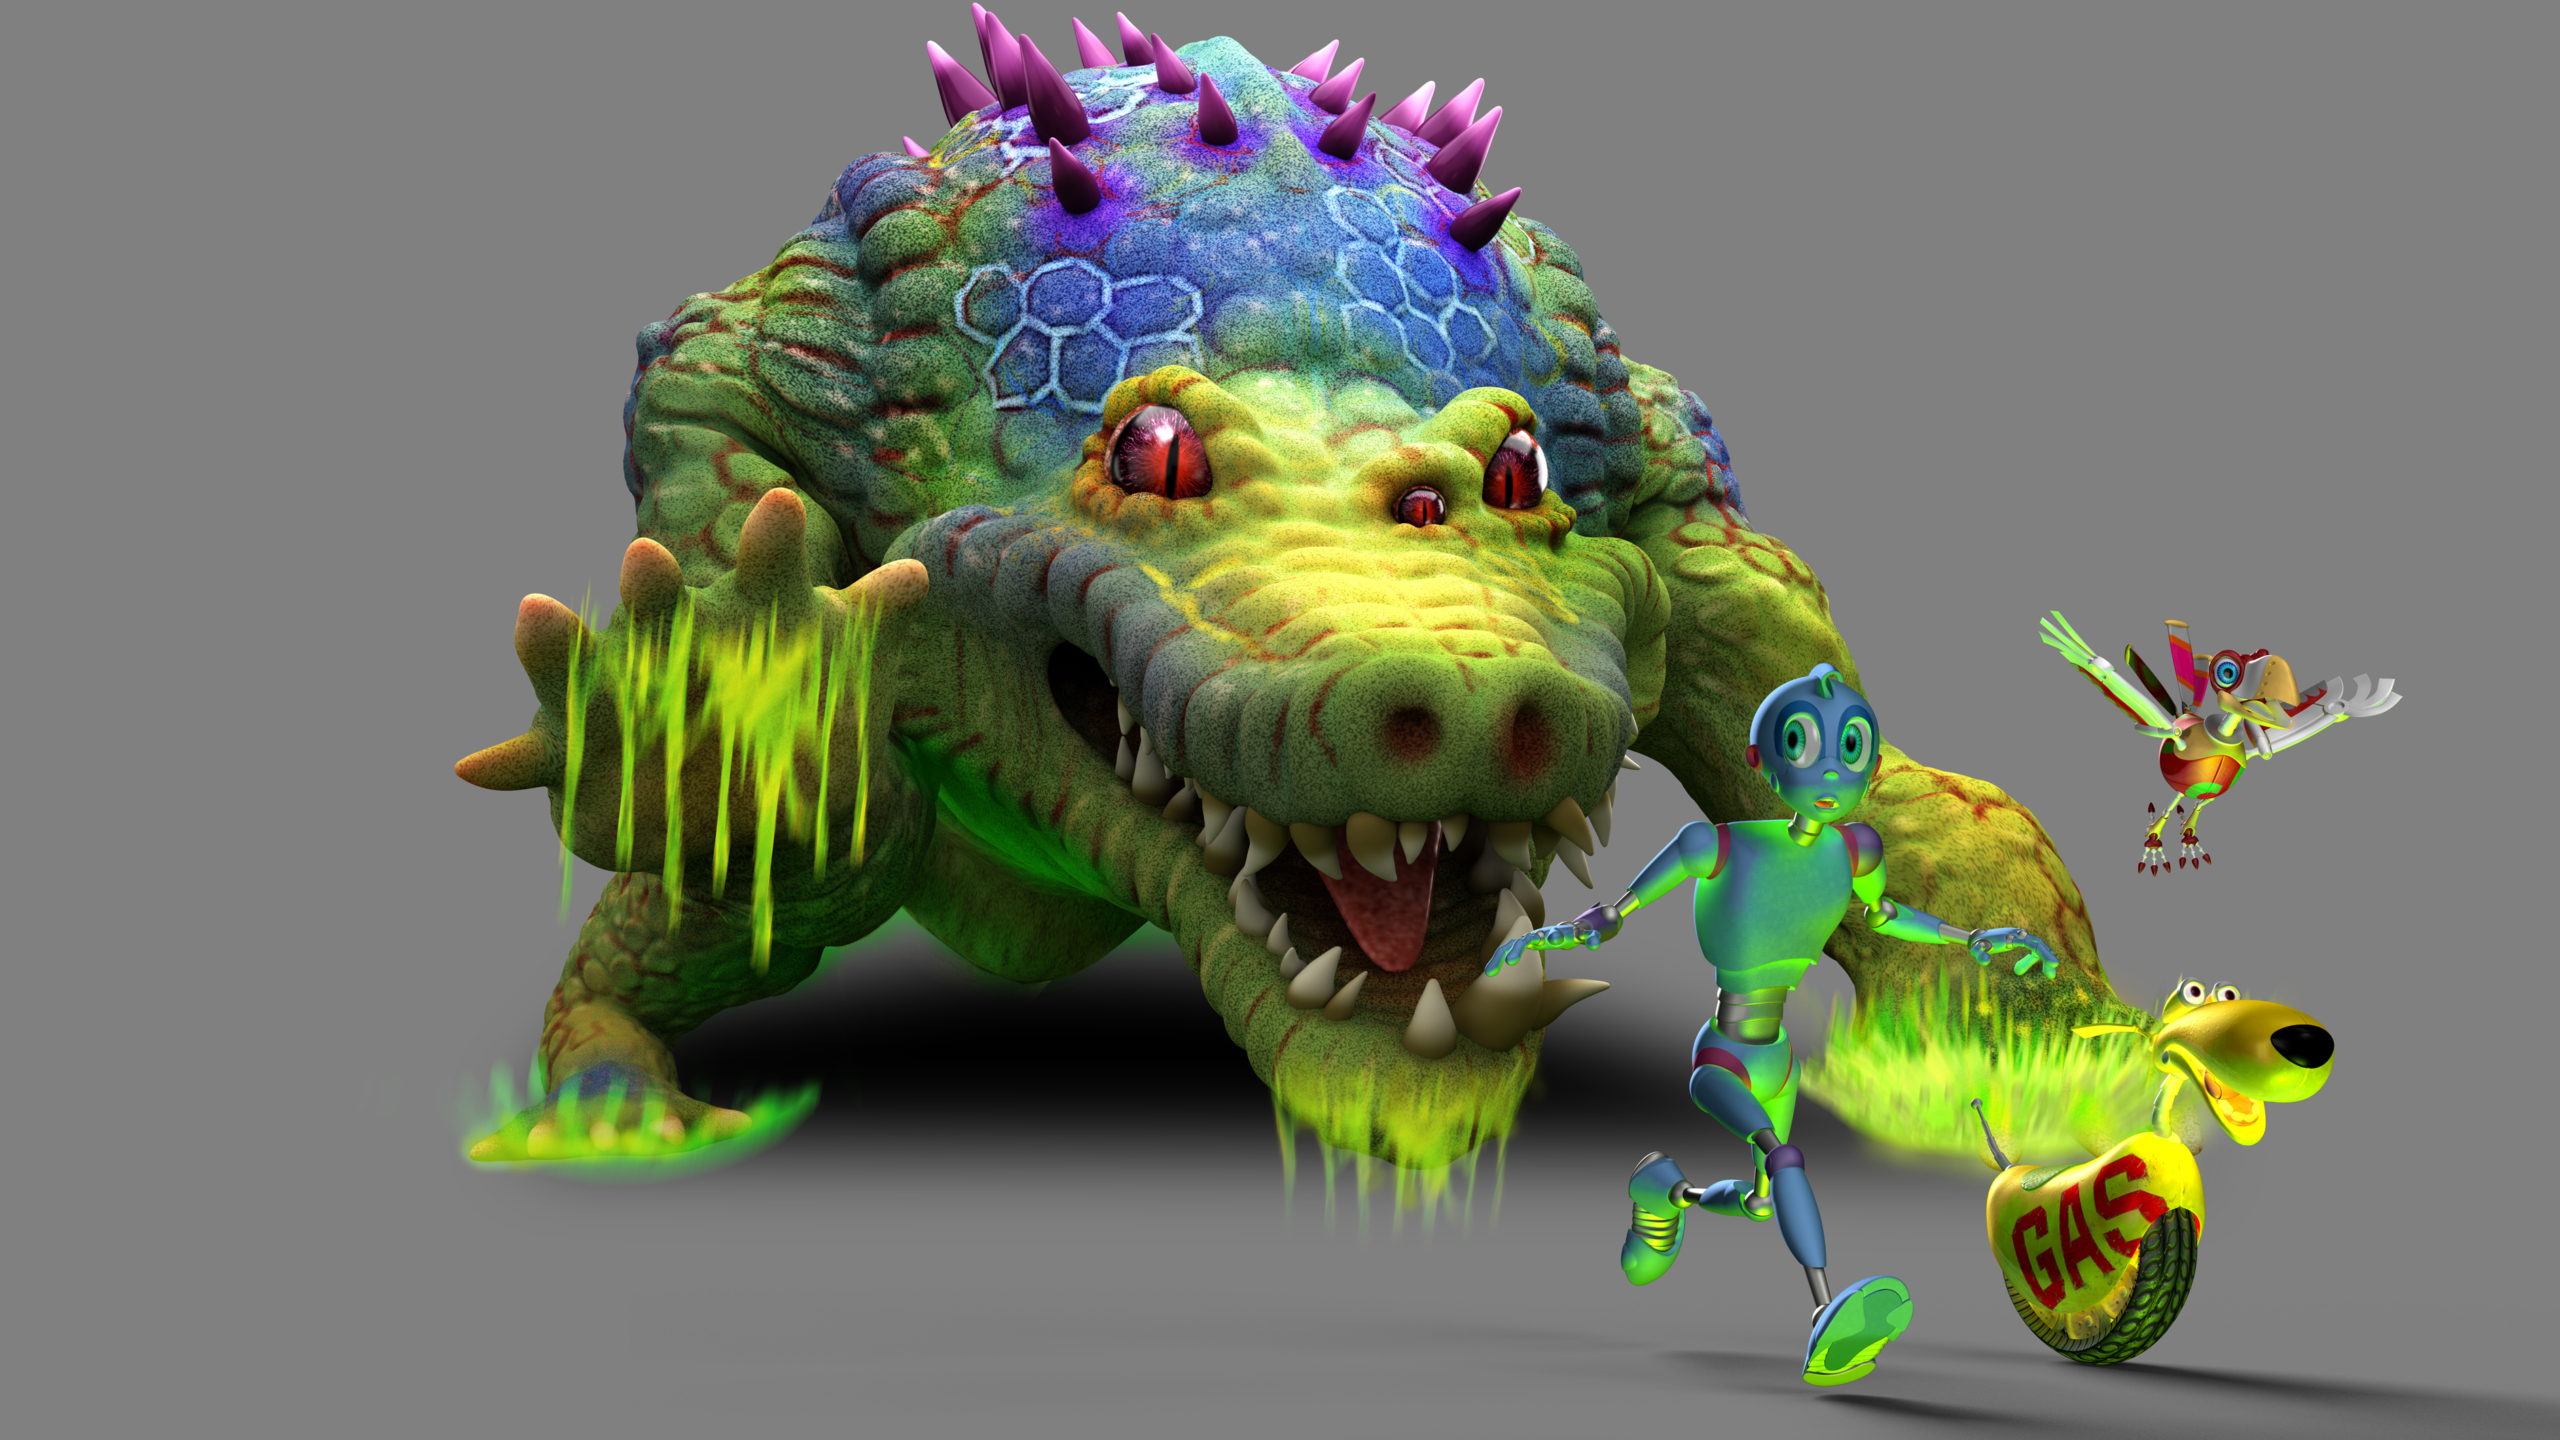
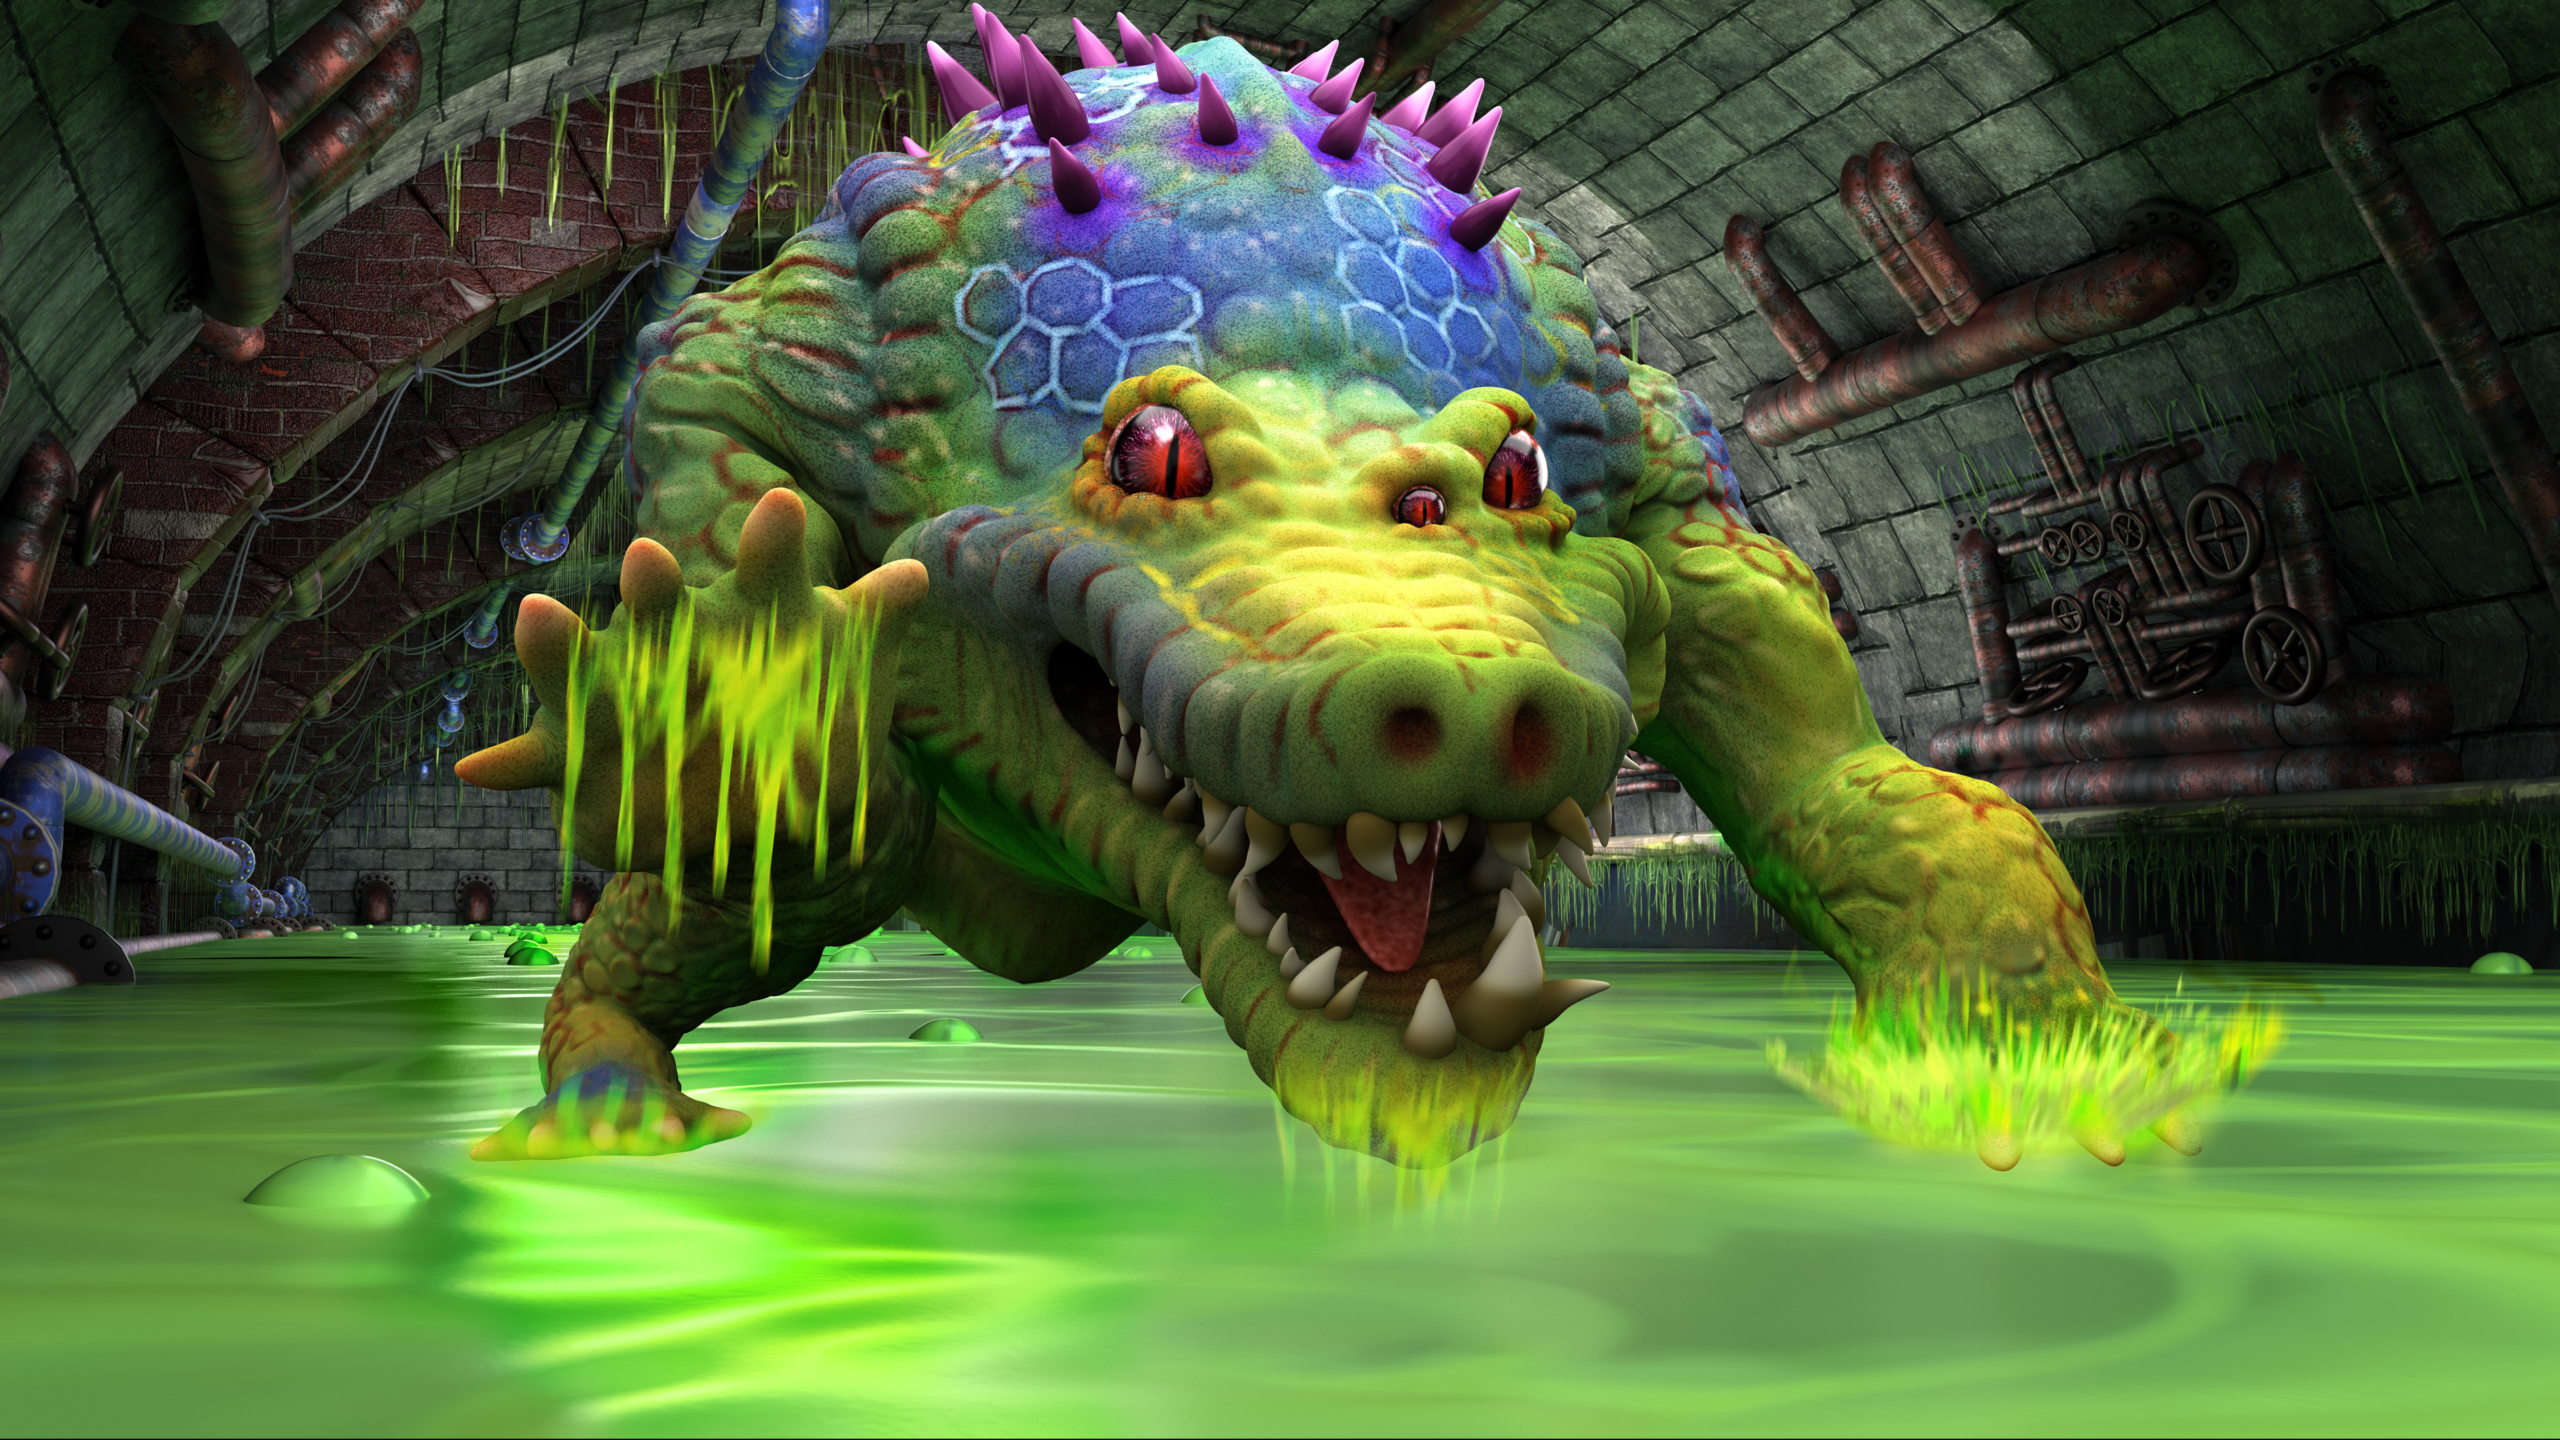
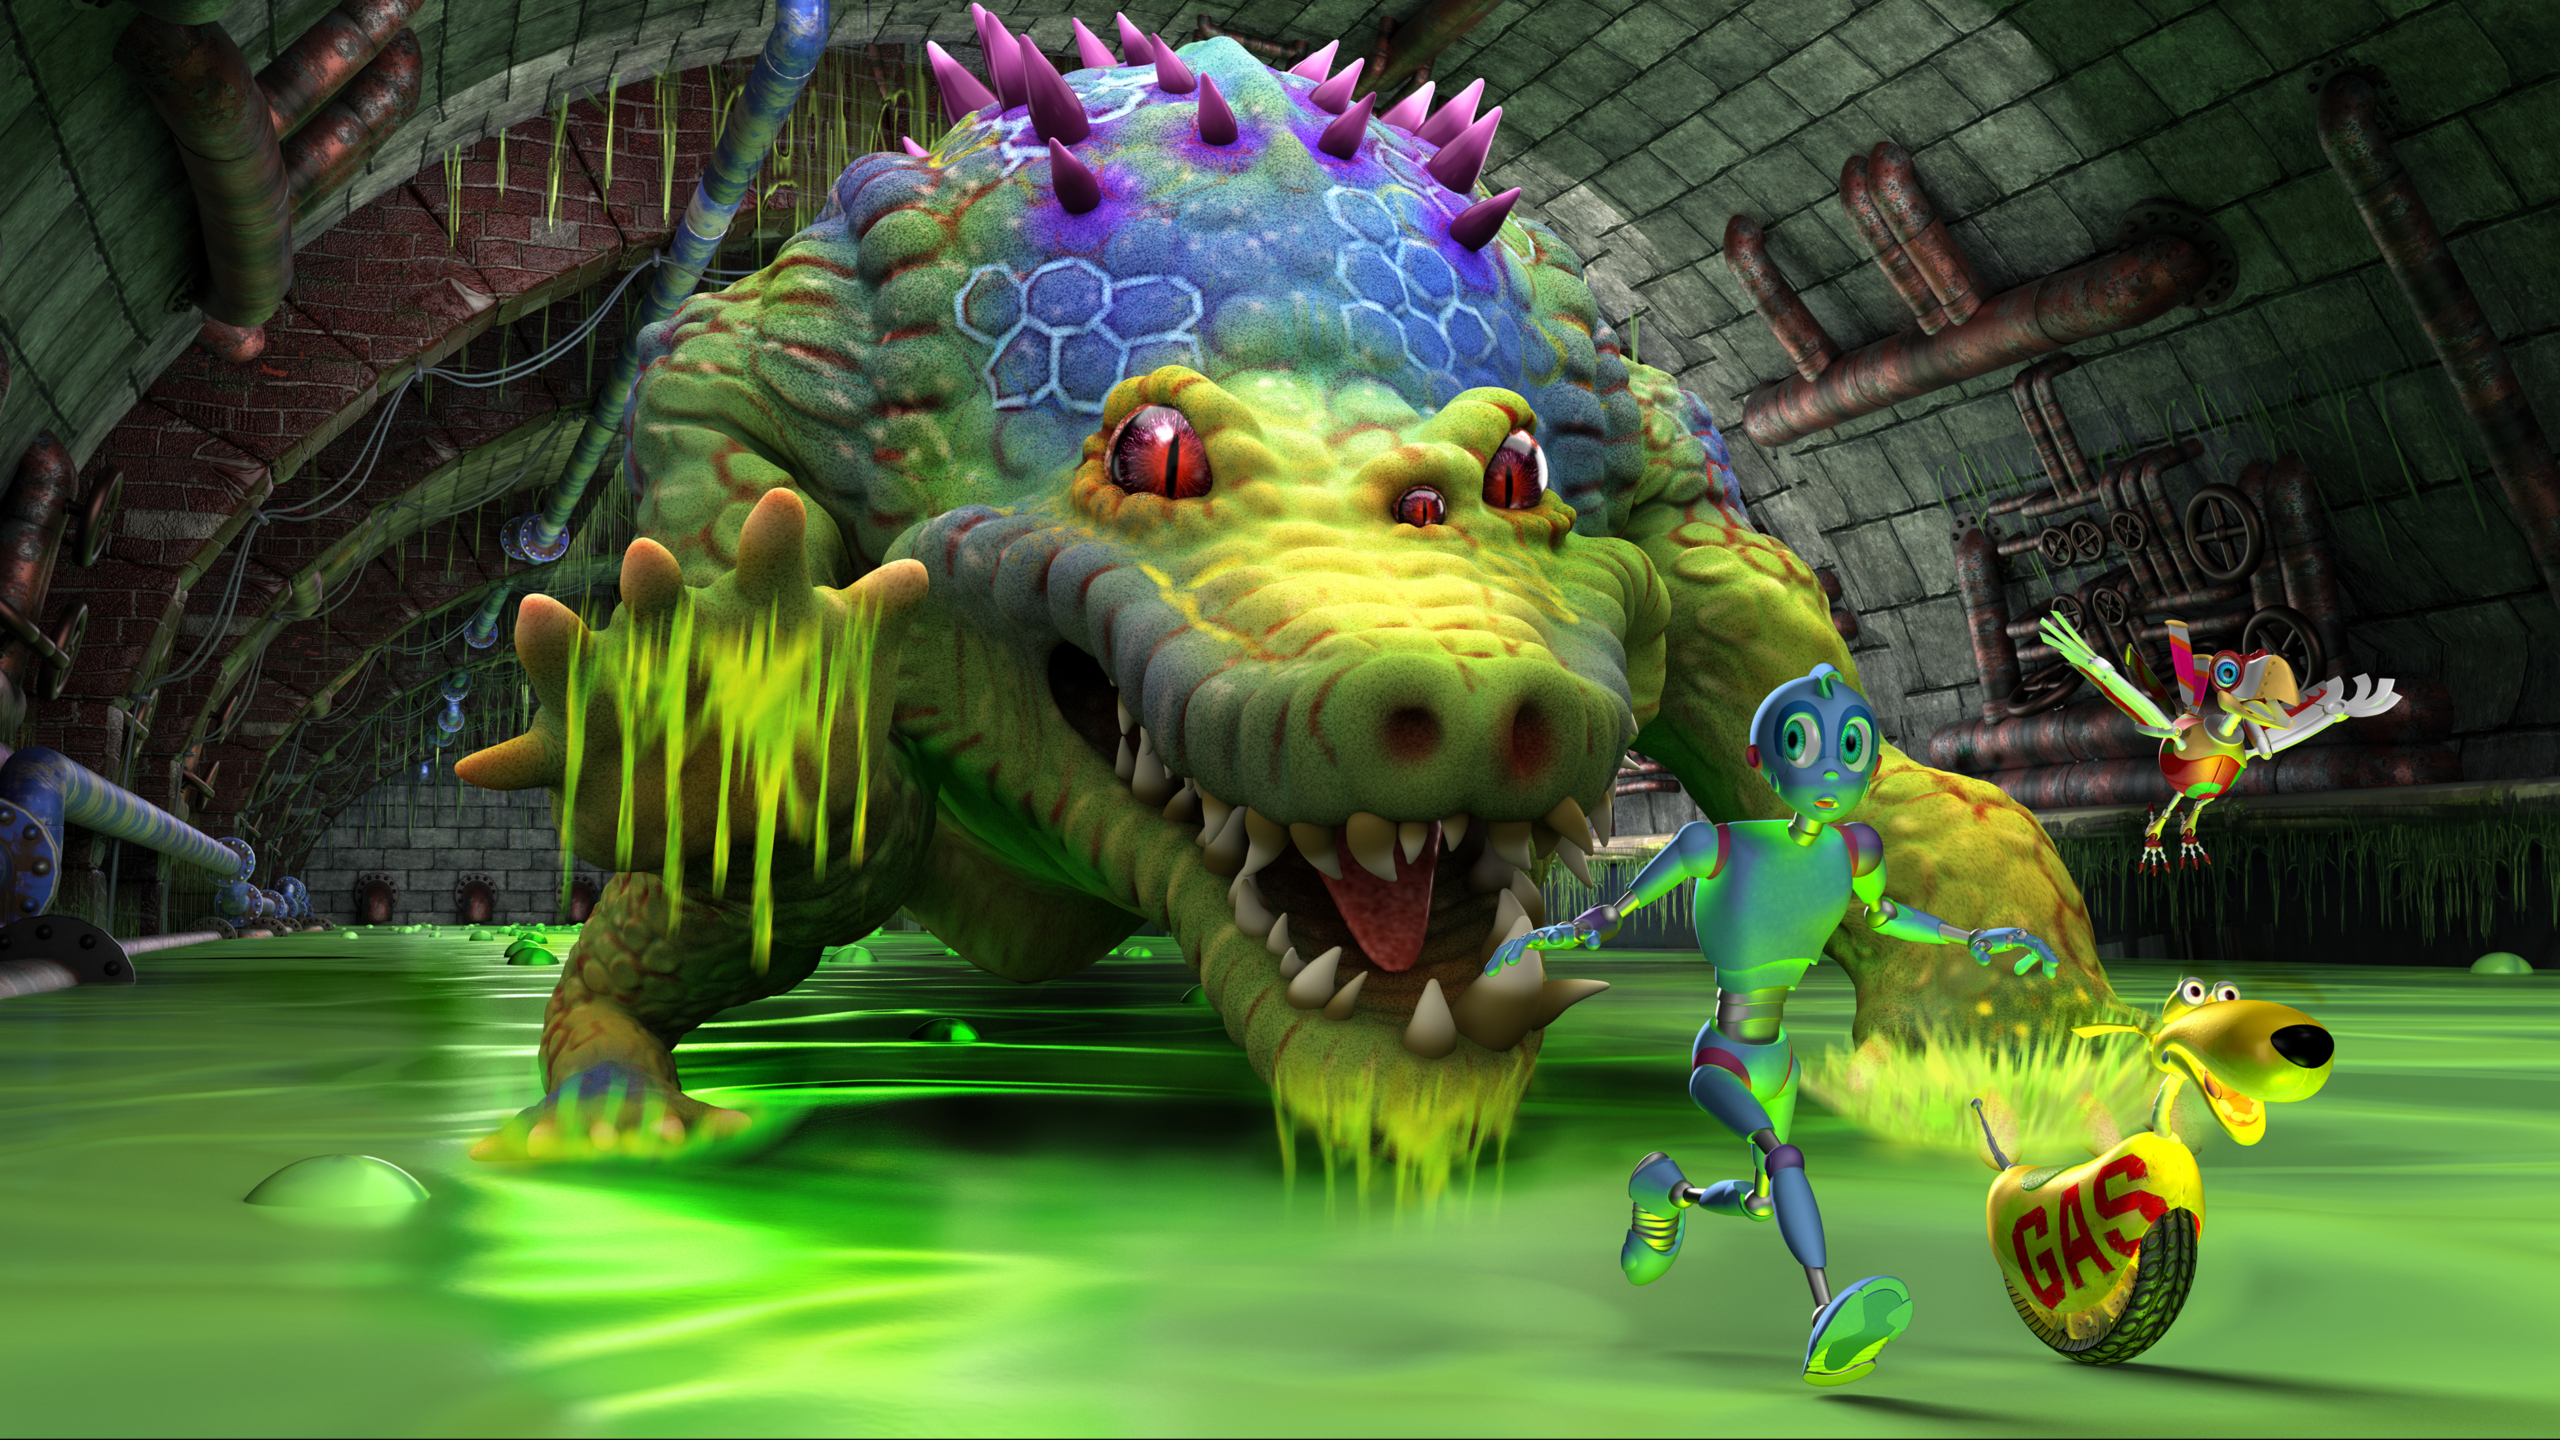
Sometimes we do the rendering in pieces, called layers. Instead of saving the scene all as one single image, we save different parts of the scene separately. This is usually so that we can light some of those layers differently without affecting the other parts of the scene.
Once we’ve rendered all of the layered elements as images, we bring them into a program like Photoshop, where we can combine them into a single image. We put the finishing touches on the illustrations there, adjusting the colors and maybe doing a little digital painting.




CREATING THE BOOK
Once all of the illustrations are done and the text is finalized, it’s time to bring it all into a program called InDesign, where we can lay out the pages and assemble the book as a single file.
For my e-books, I also have audio narration, which was recorded by the famous audiobook narrator Edoardo Bellerini. I sent the text to Edoardo, and he recorded the audio tracks.
Then, I used a program called PubCoder to convert the file into the format e- readers use to display e-books. I also used PubCoder to add the audio narration tracks, page by page, to match the text.
And there you have it! A complete e-book series, with a fun story, lifelike illustrations and even an audio track, so readers can experience the book almost like a movie.
So many creative jobs went into creating these books for you. Do any of them sound like something you might want to try out? I hope so! You’ve now had a primer on digital illustration creation.
